Create a VM
You can create one or more custom VM (Virtual Machine) within a VPC (Virtual Private Cloud).
During creation, you can define the characteristics specific to each VM, such as the amount of RAM, the storage capacity and the number of vCPU (virtual Central Processing Unit).
To ensure security and authentication, all official images use key pairs as their authentication system. Therefore, to launch a VM from an official image, you must specify a valid key pair. Non-official images, however, may use different authentication systems. Consequently, before launching a VM from a non-official image, make sure to check whether a key pair is required or whether another authentication mechanism is provided.
Permissions
This action requires the following IAM (Identity and Access Management) permissions:
- compute.vm.create
- Console
- API
- Terraform
Optional prerequisites
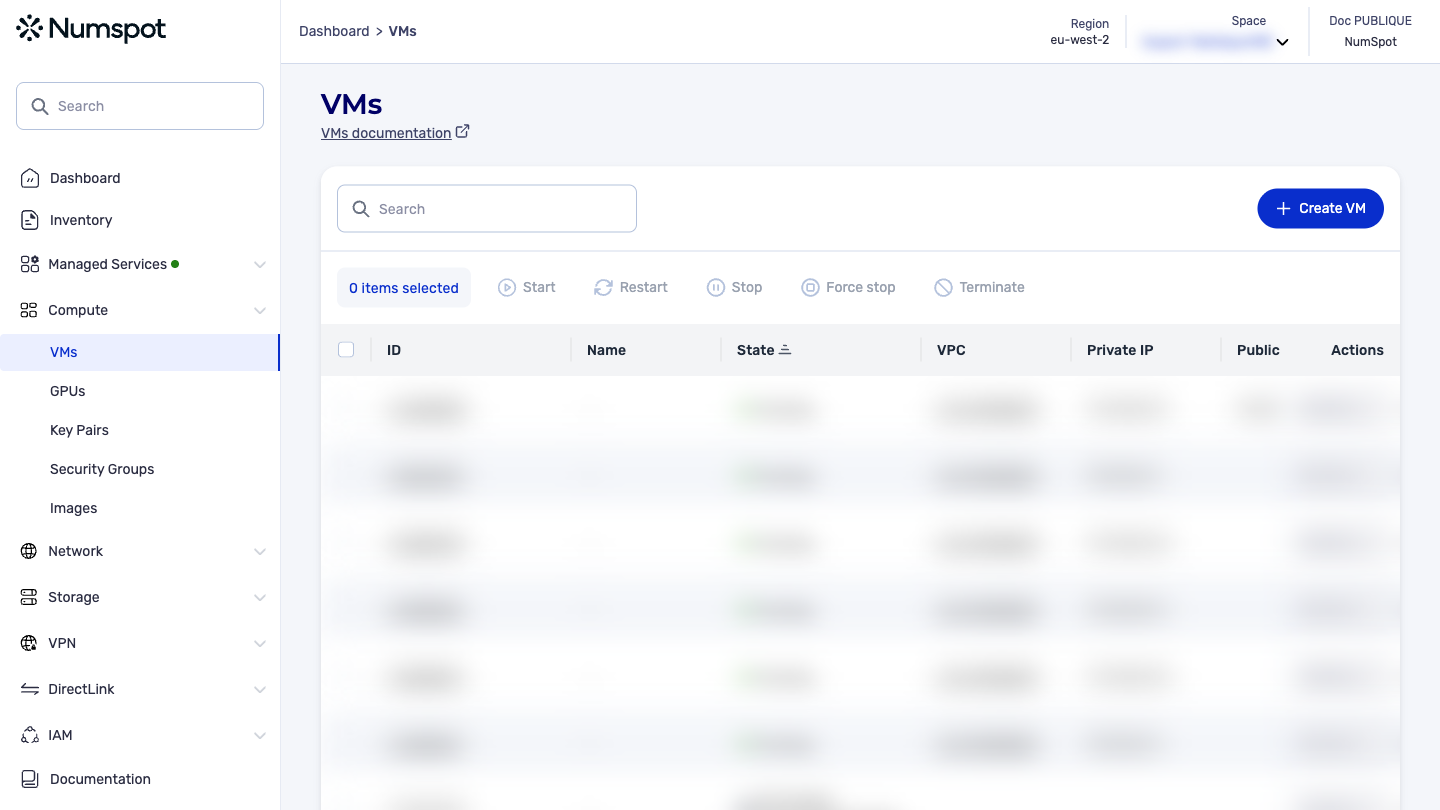
- From the left-hand side menu, click Compute → VM to access the list of VM.
- Click the Create a VM button at the top right of the screen to launch the VM creation wizard.
Creating a VM in the Numspot console is simplified by a creation wizard that guides you through each configuration step.
At each step, a summary of the selected options is displayed on the right-hand side of the screen, including the total estimated cost of the resources added. This lets you manage the costs of your VM and ensure they stay within your budget.
The steps for creating a VM using the wizard are described below.
Choose an image
-
Select the OS image you want to use for your VM.
-
Click Continue.
The "VM type" screen appears.
Choose the type and number of VM
- Select the type of VM you want to create.
Numspot offers VM templates optimized for various use cases:
- Compute: optimized for applications requiring high processing power;
- Memory: optimized for applications requiring a large amount of RAM;
- Standard: suitable for most use cases;
- Economy: ideal for low-cost applications;
- Inference: optimized for AI inference.
- Select the desired number of VM:
- you can choose to create several VM simultaneously (up to a maximum of 20, subject to a quota increase);
- a summary of the selected options, with the total estimated cost, is displayed on the right-hand side of the screen. This lets you track the costs associated with your VM.
- Click Continue.
The "General information" and "Network" screen appears.
Configure the general information and network
Enter the general information
- In the "VM name" field, enter the name you want to assign to your VM or VM:
- it must contain between 1 and 255 printable ASCII characters;
- it is used as a tag associated with your VM;
- by default, all created VM have the same characteristics. They can be modified later.
- Tick the "Dedicated VM tenancy" box only if you want to create dedicated VM.
A dedicated VM benefits from dedicated hardware resources, for an additional cost.
Configure the network
Your VM must be attached to a VPC.
- Select one of the two options offered: use an existing VPC, or create a new VPC and its associated subnet:
- if a VPC is already available in your space, select the desired VPC from the drop-down list, then choose an existing subnet from the "Subnet" drop-down list;
- if no network exists yet, or if you want to create a new one, click the Create a VPC button;
A dialog box opens to create a new VPC and a new subnet:- to create the VPC, select the AZ (Availability Zone) in which you want to deploy your VM, enter the VPC name and then its IP (Internet Protocol) address range in CIDR (Classless Inter-Domain Routing) format;
- to create the subnet, enter its name and then its IP address range in CIDR format; This address range must be part of the VPC range, without overlapping that of another subnet:
- click Create the Network.
- Click Continue.
The "System volume" screen appears.
Configure the system volume
- Select one of the two options offered: "Continue with a default system volume" or "Customize the system volume".
To customize the system volume: - Select one of the following values from the "Volume type" list:
- "Magnetic" for a Magnetic volume;
- "SSD" for a Performance volume;
- "SSD premium" for an Enterprise volume. If you select "SSD premium", you must define the number of IOPS (Input/Output Operations Per Second) you need.
- In the "Volume size" field, specify the volume size (in GiB).
The minimum volume size is 10 GiB and the maximum size is 14901 GiB, subject to your quota. Make sure to choose a volume size suited to your storage and cost needs. - Click Continue.
The "Security group" screen appears.
Configure the security group
- Select one of the three options offered: "Continue with the VPC security group", "Select one or more existing security groups" or "Create a new security group".
- To create a new security group, enter its name and description:
- the name must be unique;
- the security group name must not start with sg-;
- each name and description can contain between 1 and 255 characters. The allowed characters are a-z, A-Z, 0-9, space and _.-:/()#,@[]+=&;!$*.
- Click Continue.
The "Key pair" screen appears.
Configure the key pair
- Select one of the three options offered:
- "Select an existing key pair"
Choose an existing key pair to connect to your VM.
Only RSA-format key pairs can decrypt the password of a Windows VM. - "Create a new key pair"
In the "Key pair name" field, enter a name for the key pair:
- the key pair name must be unique within your account;
- it must contain between 1 and 255 printable ASCII characters. You can download the private key at the last step of the VM creation.
- "Continue without a key pair"
This option lets you create a VM without a key pair. However, all official images use key pairs as their authentication system. So, if you want to access a VM created from an official image, you must associate a key pair with it during this step or later via the API. - Click Create the VM.
The "Creation" screen appears.
Finalize the VM creation
- The resources to be created according to the selected options are automatically created and attached to your VM in sequential order;
- if you chose to create a key pair, you must download the private key before leaving the creation screen.
Save this file carefully. It cannot be recovered from Numspot if lost. Backing up and securely storing the key pair and associated passwords is the customer's responsibility.
- The screen displays the progress of the VM creation;
- a summary of the selected options appears on the right-hand side of the screen. It includes:
- the chosen image, the VM type, the general information (VM name, dedicated VM tenancy, etc.), the network (VPC and subnet), the volume (size and type), the security group and the key pair;
- the summary also displays the total estimated cost of the VM, based on the selected options.
- When the creation is complete, you can return to the list of VM.
The POST /compute/spaces/{spaceId}/vms command lets you create and launch a VM from an image.
The VM is in a pending state until it is created, then moves to the running state.
The default security group is used if none is specified.
The metadata server lets you obtain the public key provided at launch for password-less secure access to the VM.
The Terraform documentation is available on the Numspot registry ↗.