Create a VPC
You can create a network to isolate your resources in a virtual network dedicated to your account.
Permissions
This action requires the following IAM (Identity and Access Management) permissions:
- compute.vpc.create
- Console
- API
- Terraform
-
Log in to the Numspot console.
-
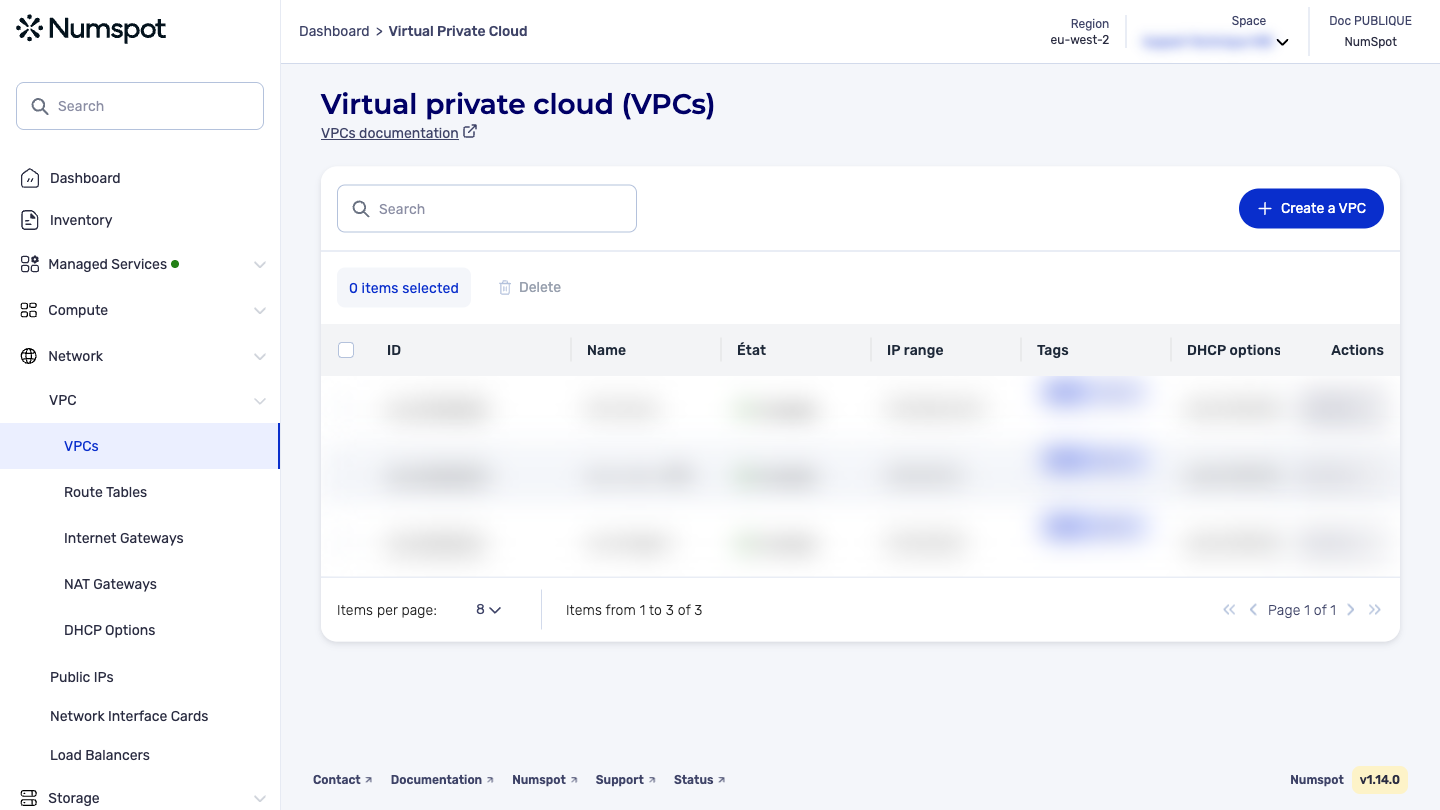
From the left-hand side menu, click Network → VPC → VPC.
-
Once on the VPC page, click the Create a VPC button. The VPC creation page appears.
-
In the "Name" field, enter a name for the VPC.
-
In the "IP range" field, enter the IP address range for your VPC, in CIDR format.
warningNote that the CIDR cannot be changed.
-
(Optional) Tick the "Use a dedicated server for each VM in this VPC" box if required.
-
Click the Create a VPC button.
-
A confirmation message is displayed at the bottom indicating that the VPC has been created successfully, and you are redirected to the VPC detail page.
infoA DHCP (Dynamic Host Configuration Protocol), a security group and a route table will be created automatically.
The POST /compute/spaces/{spaceId}/vpcs command lets you create a VPC (Virtual Private Cloud) with a specified IP (Internet Protocol) address range.
The IP address range (network range) of your VPC must be between a /28 subnet mask (16 IP) and a /16 subnet mask (65536 IP).
The Terraform documentation is available on the Numspot registry ↗.