Allocate or release a GPU
Permissions
These actions require the following IAM (Identity and Access Management) permissions:
- compute.gpu.create
Allocate a GPU
- Console
- API
-
Log in to the Numspot console using your credentials.
-
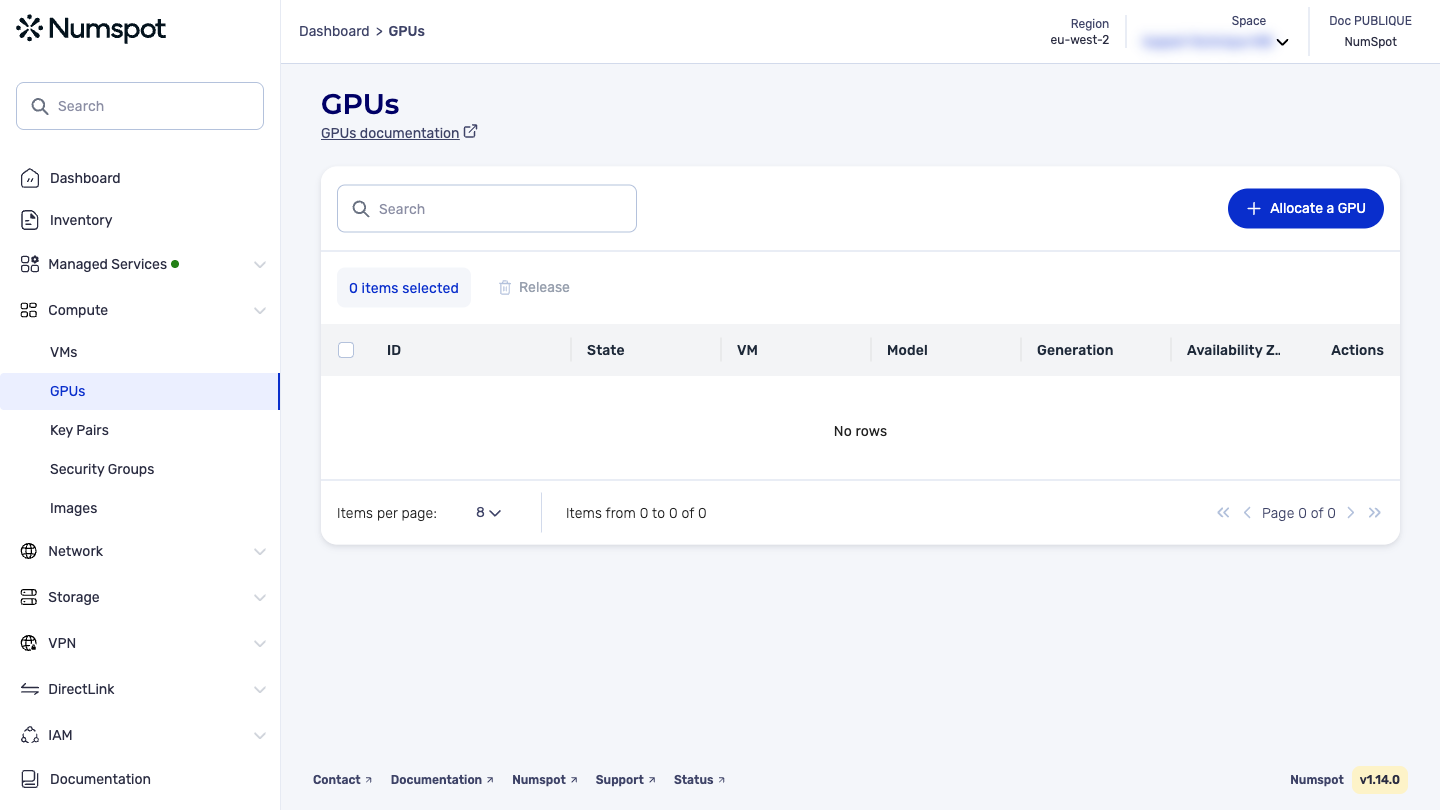
From the left-hand side menu, click Compute → GPU.
-
In the GPU dashboard, click Allocate a GPU at the top right of the screen.
-
The GPU allocation screen appears.
-
In the "Availability Zone" list, select the sub-region for the GPU.
-
In the "GPU model" list, select the GPU model you want to allocate.
-
Select the "Behavior on VM deletion":
- "Release the GPU": the GPU will be automatically released from your account when the VM to which it is linked is terminated.
- "Keep the allocation": the GPU will be detached and will remain allocated to your account when the VM to which it is linked is terminated.
-
Click Allocate the GPU.
-
A confirmation message appears at the bottom indicating that the GPU is successfully allocated, and you are redirected to the list of GPU.
The POST /compute/spaces/{spaceId}/flexibleGpus command allocates a flexible GPU (fGPU) to your account.
You can then attach this fGPU to a VM.
Release a GPU
This action requires the following IAM (Identity and Access Management) permissions:
- compute.gpu.delete
- Console
- API
-
Open the Numspot console.
-
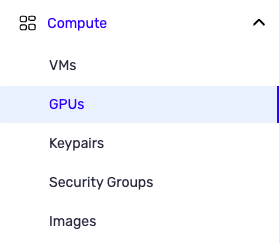
From the left-hand side menu, click Compute → GPU.
-
Select the GPU you want to release and choose the Release the GPU action.
The "GPU release" dialog box appears.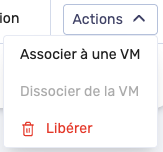
-
To confirm the deletion, enter the ID of the GPU, then click Release.

The GPU is released from your account and a confirmation message appears at the bottom of the page.
The DELETE /compute/spaces/{spaceId}/flexibleGpus/{id} command releases a flexible GPU (fGPU) from your account.
The fGPU then becomes available for use by another user.