Create a service account
A service account is used to automate tasks or to carry out operations on behalf of a user. It is identified by a name and a technical identifier. For the creation, you must provide a name, and the command returns the technical identifier and the secret associated with this account.
Permissions
This action requires the following IAM (Identity and Access Management) permissions:
- iam.serviceAccount.create
- Console
- API
- Terraform
-
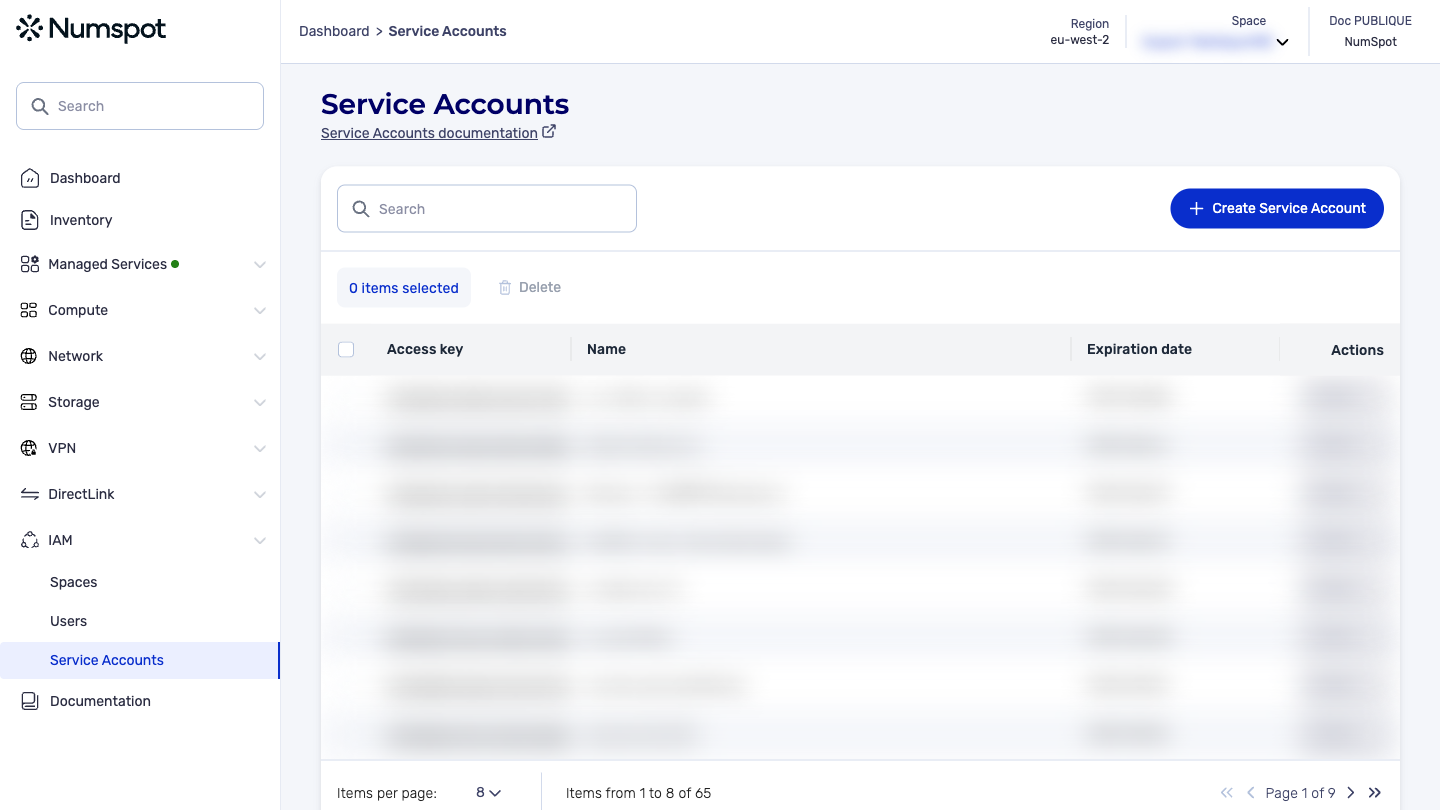
In the IAM menu, click the Service accounts button. You access the Service accounts dashboard.
-
In the Service accounts dashboard, click the Create a service account button. A new window appears.
-
In the new window, enter the information for the new service account to create:
- Service account name
- the name of the account owner or of the associated technical service.
- Expiration date
- the date on which this service account can no longer request a new access token and is denied any connection to Numspot.
- Token lifetime
- the access token allows the service account to authenticate to the Numspot service. At each new session, the service account must request a new token.
Click the Create a service account button.
- Service account name
-
Save the information of the new service account securely.
warningCopy these security details, as they are not shown again. The access key and the secret key may also be referred to by other names, such as "access key/secret key" or "client id/client secret".
Then click the Assign roles and permissions button.
-
In the new window, choose the spaces to associate with the service account. Once selected, click Save spaces.
-
In the new window, choose the roles to assign to the service account. Once selected, click Save roles.
You can restrict the roles to one or more specific spaces.
- In the new window, choose the permissions to assign to the service account, then click the Save permissions button to complete the configuration of the service account.
You can restrict the permissions to one or more specific spaces.
- A confirmation message appears at the bottom indicating that the permissions of the service account have been saved.
Creating a service account and assigning roles or permissions are done in separate steps:
The creation can take place at the organization level or at the level of a space within the organization. The scope of the account's rights is limited to its perimeter. The principle is the same; only the API URLs change.
Creating the service account at the organization level
Example with a curl
curl 'https://api.{region}.numspot.com/iam/organisations/{organisationId}/serviceAccounts' \
  --request POST \
  --header 'Content-Type: application/json' \
  --data '{
  "name": "",
  "tokenDuration": "PT24H",
  "expirationDate": "2025-12-31"
}'
Command output:
{
  "name": "…",
  "id": "…",
  "tokenDuration": "…",
  "secret": "…",
  "expirationDate": "…"
}
Creating the service account at the space level
Example with a curl
curl 'https://api.{region}.numspot.com/iam/spaces/{spaceId}/serviceAccounts' \
  --request POST \
  --header 'Content-Type: application/json' \
  --data '{
  "name": "the service account name",
  "tokenDuration": "PT24H",
  "expirationDate": "2025-12-31"
}'
Command output:
{
  "name": "…",
  "id": "…",
  "tokenDuration": "…",
  "secret": "…",
  "expirationDate": "…"
}
Assigning roles and permissions to a service account within an organization
Example with a curl
curl 'https://api.{region}.numspot.com/iam/organisations/{organisationId}/iampolicy/{subjectType}/{subjectId}' \
  --request PATCH \
  --header 'Content-Type: application/json' \
  --data '{
  "add": {
    "roles": [
      ""
    ],
    "permissions": [
      ""
    ]
  },
  "delete": {
    "roles": [
      ""
    ],
    "permissions": [
      ""
    ]
  }
}'
Assigning roles and permissions to a service account within a space
Example with a curl
curl 'https://api.{region}.numspot.com/iam/spaces/{spaceId}/iampolicy/{subjectType}/{subjectId}' \
  --request PATCH \
  --header 'Content-Type: application/json' \
  --data '{
  "add": {
    "roles": [
      ""
    ],
    "permissions": [
      ""
    ]
  },
  "delete": {
    "roles": [
      ""
    ],
    "permissions": [
      ""
    ]
  }
}'
The Terraform documentation is available on the Numspot registry ↗.