Replicate images with Artifactory or Docker Hub
Reviewed on · View on GitHub
This step-by-step guide shows how to connect the Numspot Container Registry to an external container registry:
- Pull replication: import images from an external registry (JFrog Artifactory, Docker Hub, …) into your Numspot instance, for a migration or image centralization.
- Push replication: automatically propagate every image published on your Numspot instance to an external registry, for reversibility or multi-cloud distribution.
- Proxy cache: act as a pull-through cache for Docker Hub images without having to store them permanently.
For detailed references to the native Harbor API, see Configuring Harbor replication and Configuring the proxy cache.
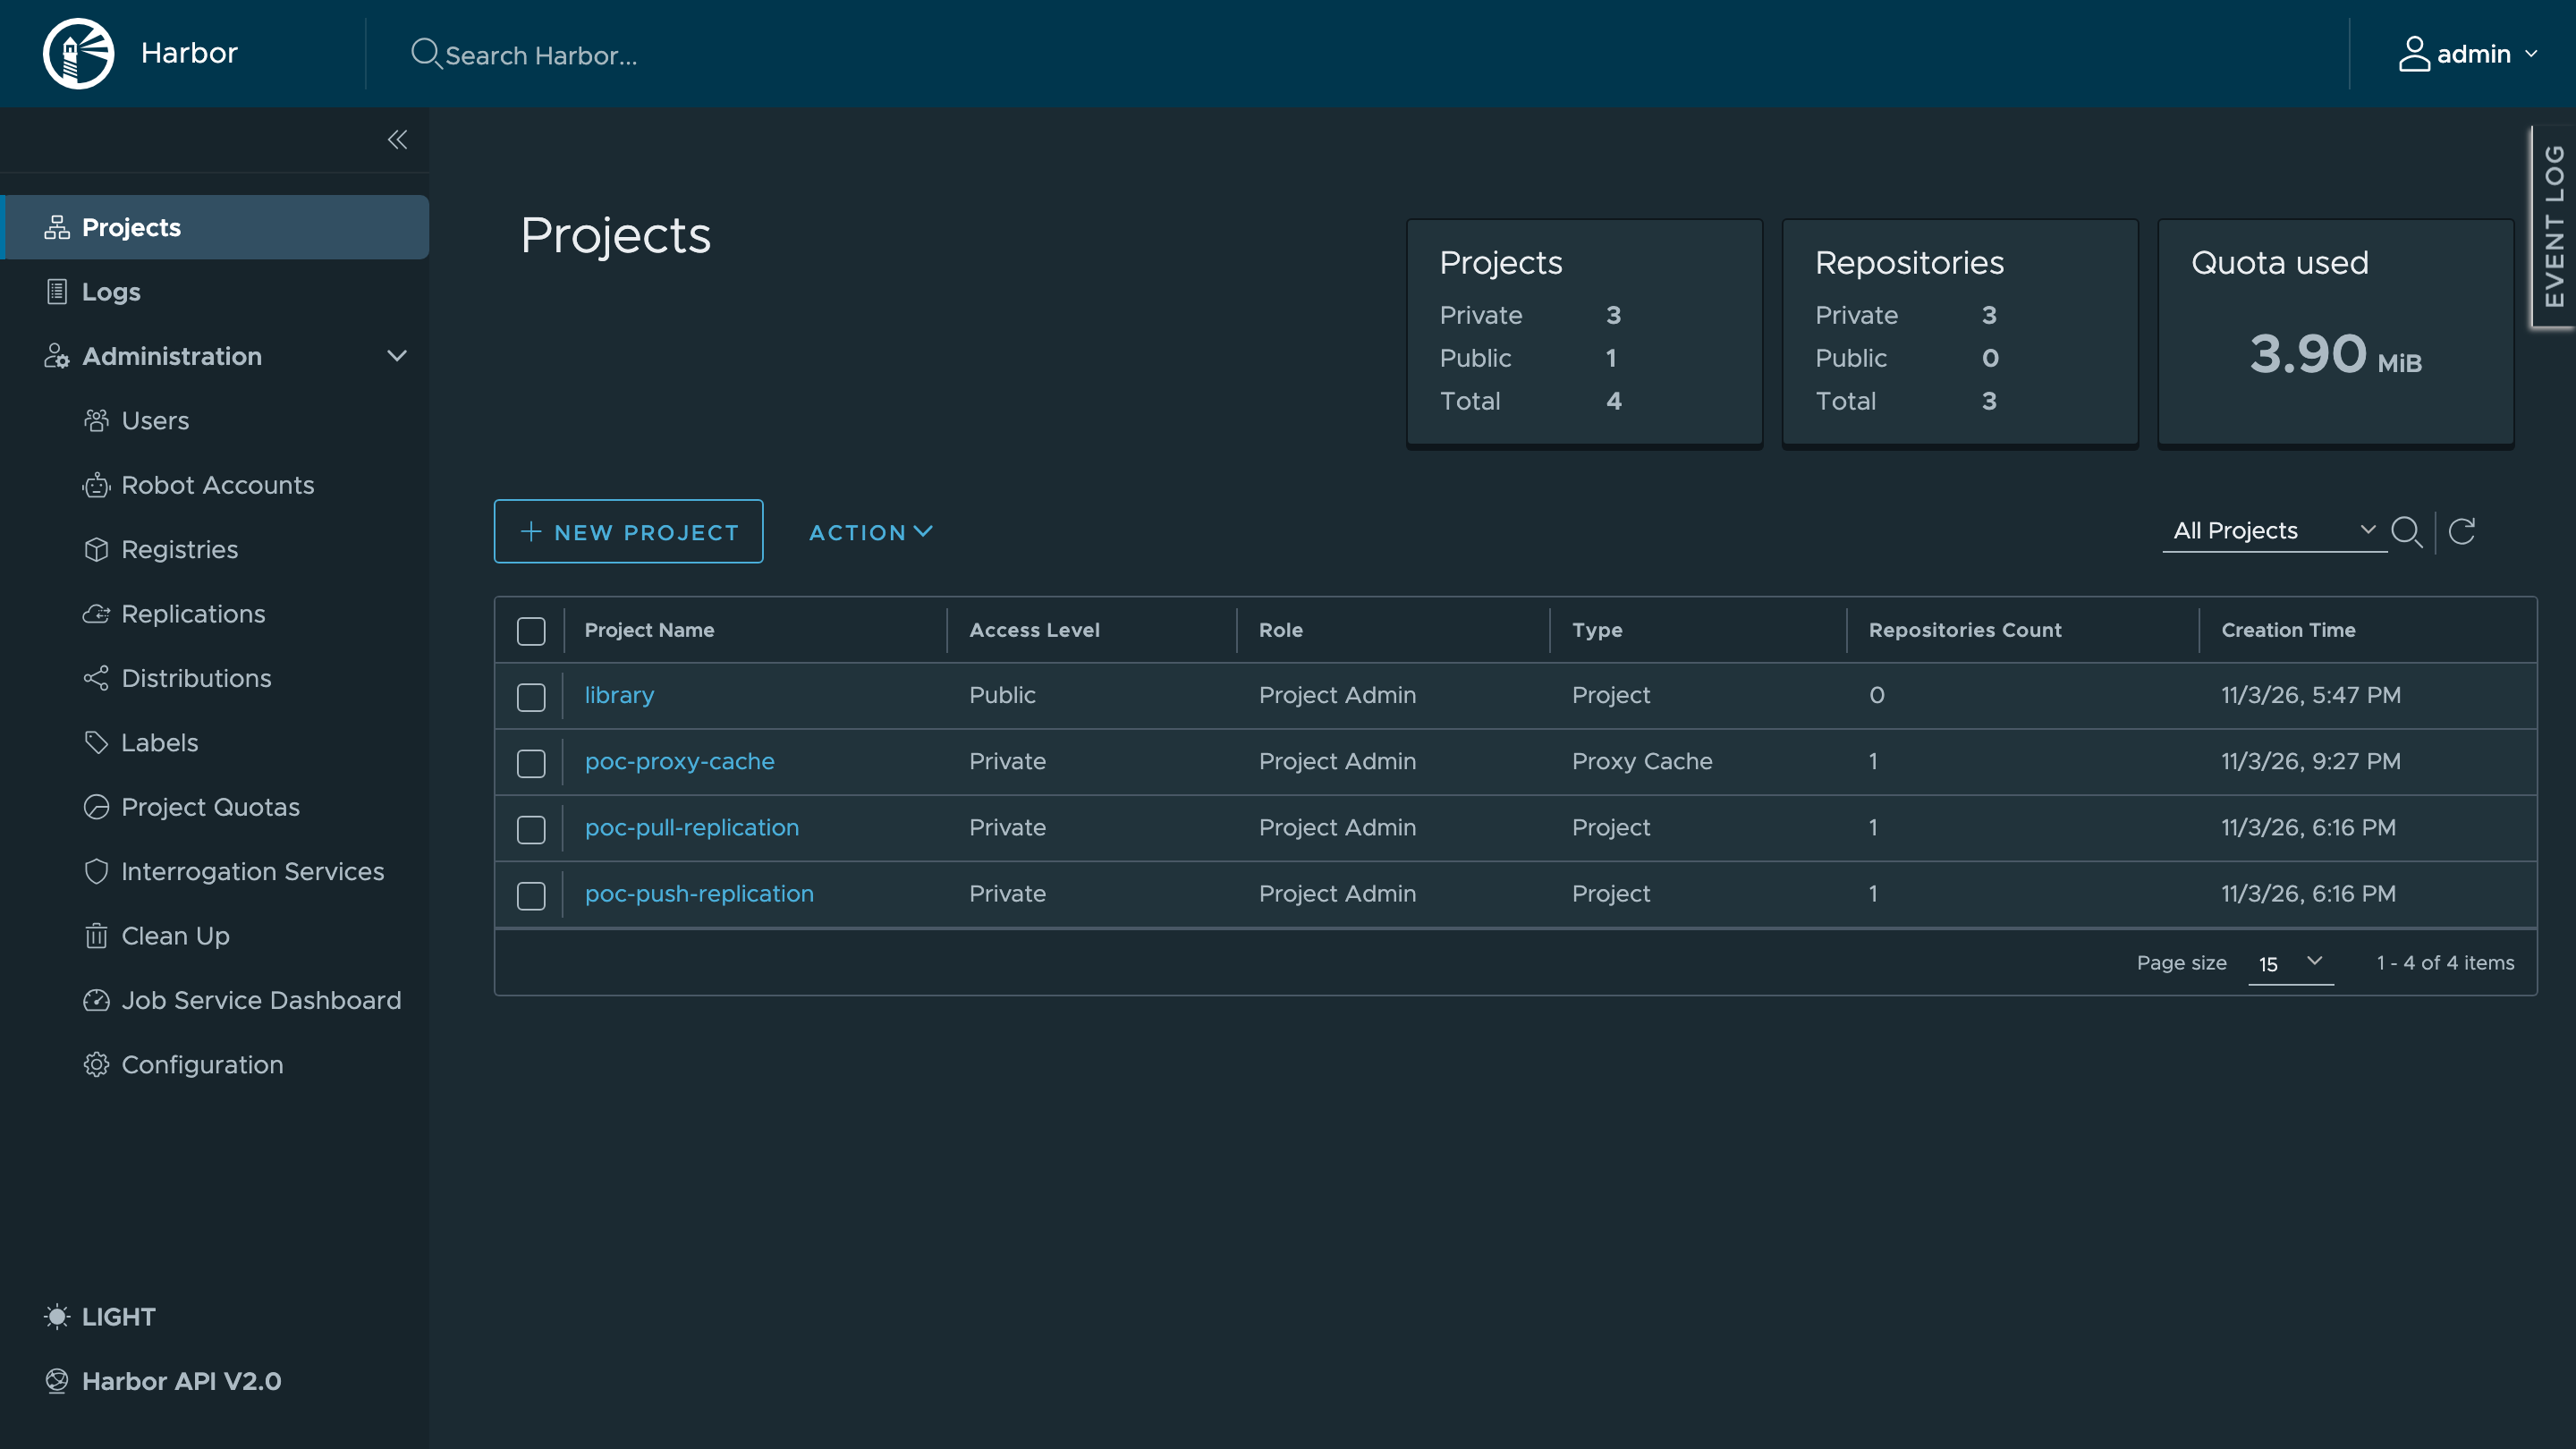
Demo environment: in the screenshots, the role of the external registry is played by a second Numspot Container Registry instance. The screens and steps are strictly identical with JFrog Artifactory or Docker Hub: only the endpoint adapter type and the credentials change. Variants are indicated at each step.
Prerequisites
- A Numspot Container Registry instance (referred to as "instance A" in this guide), with System Admin access. See Create an instance.
- An external registry (referred to as "instance B"): JFrog Artifactory, Docker Hub, or a second Numspot Registry instance to reproduce the demo.
- Docker installed on your machine.
- Instance A must be able to reach the external registry over HTTPS (port 443).
Define the environment variables used in this guide:
export REG_A="https://<instance-a-host>"   # Numspot Container Registry
export REG_B="https://<instance-b-host>"   # External registry (Artifactory, Docker Hub, …)
export PW_A="<instance-A-admin-password>"
Demo overview
| Role | Instance | Projects used |
|---|---|---|
| Numspot Container Registry | A | poc-pull-replication (pull replication target), poc-push-replication (push replication source), poc-proxy-cache (cache) |
| External registry | B | poc-upstream-images (source images), poc-push-mirror (push replication mirror) |
The three flows of the demo:
- Pull:
poc-upstream-imageson B →poc-pull-replicationon A (scheduled trigger) - Push:
poc-push-replicationon A →poc-push-mirroron B (event-based trigger) - Proxy cache: Docker Hub or B →
poc-proxy-cacheproject on A
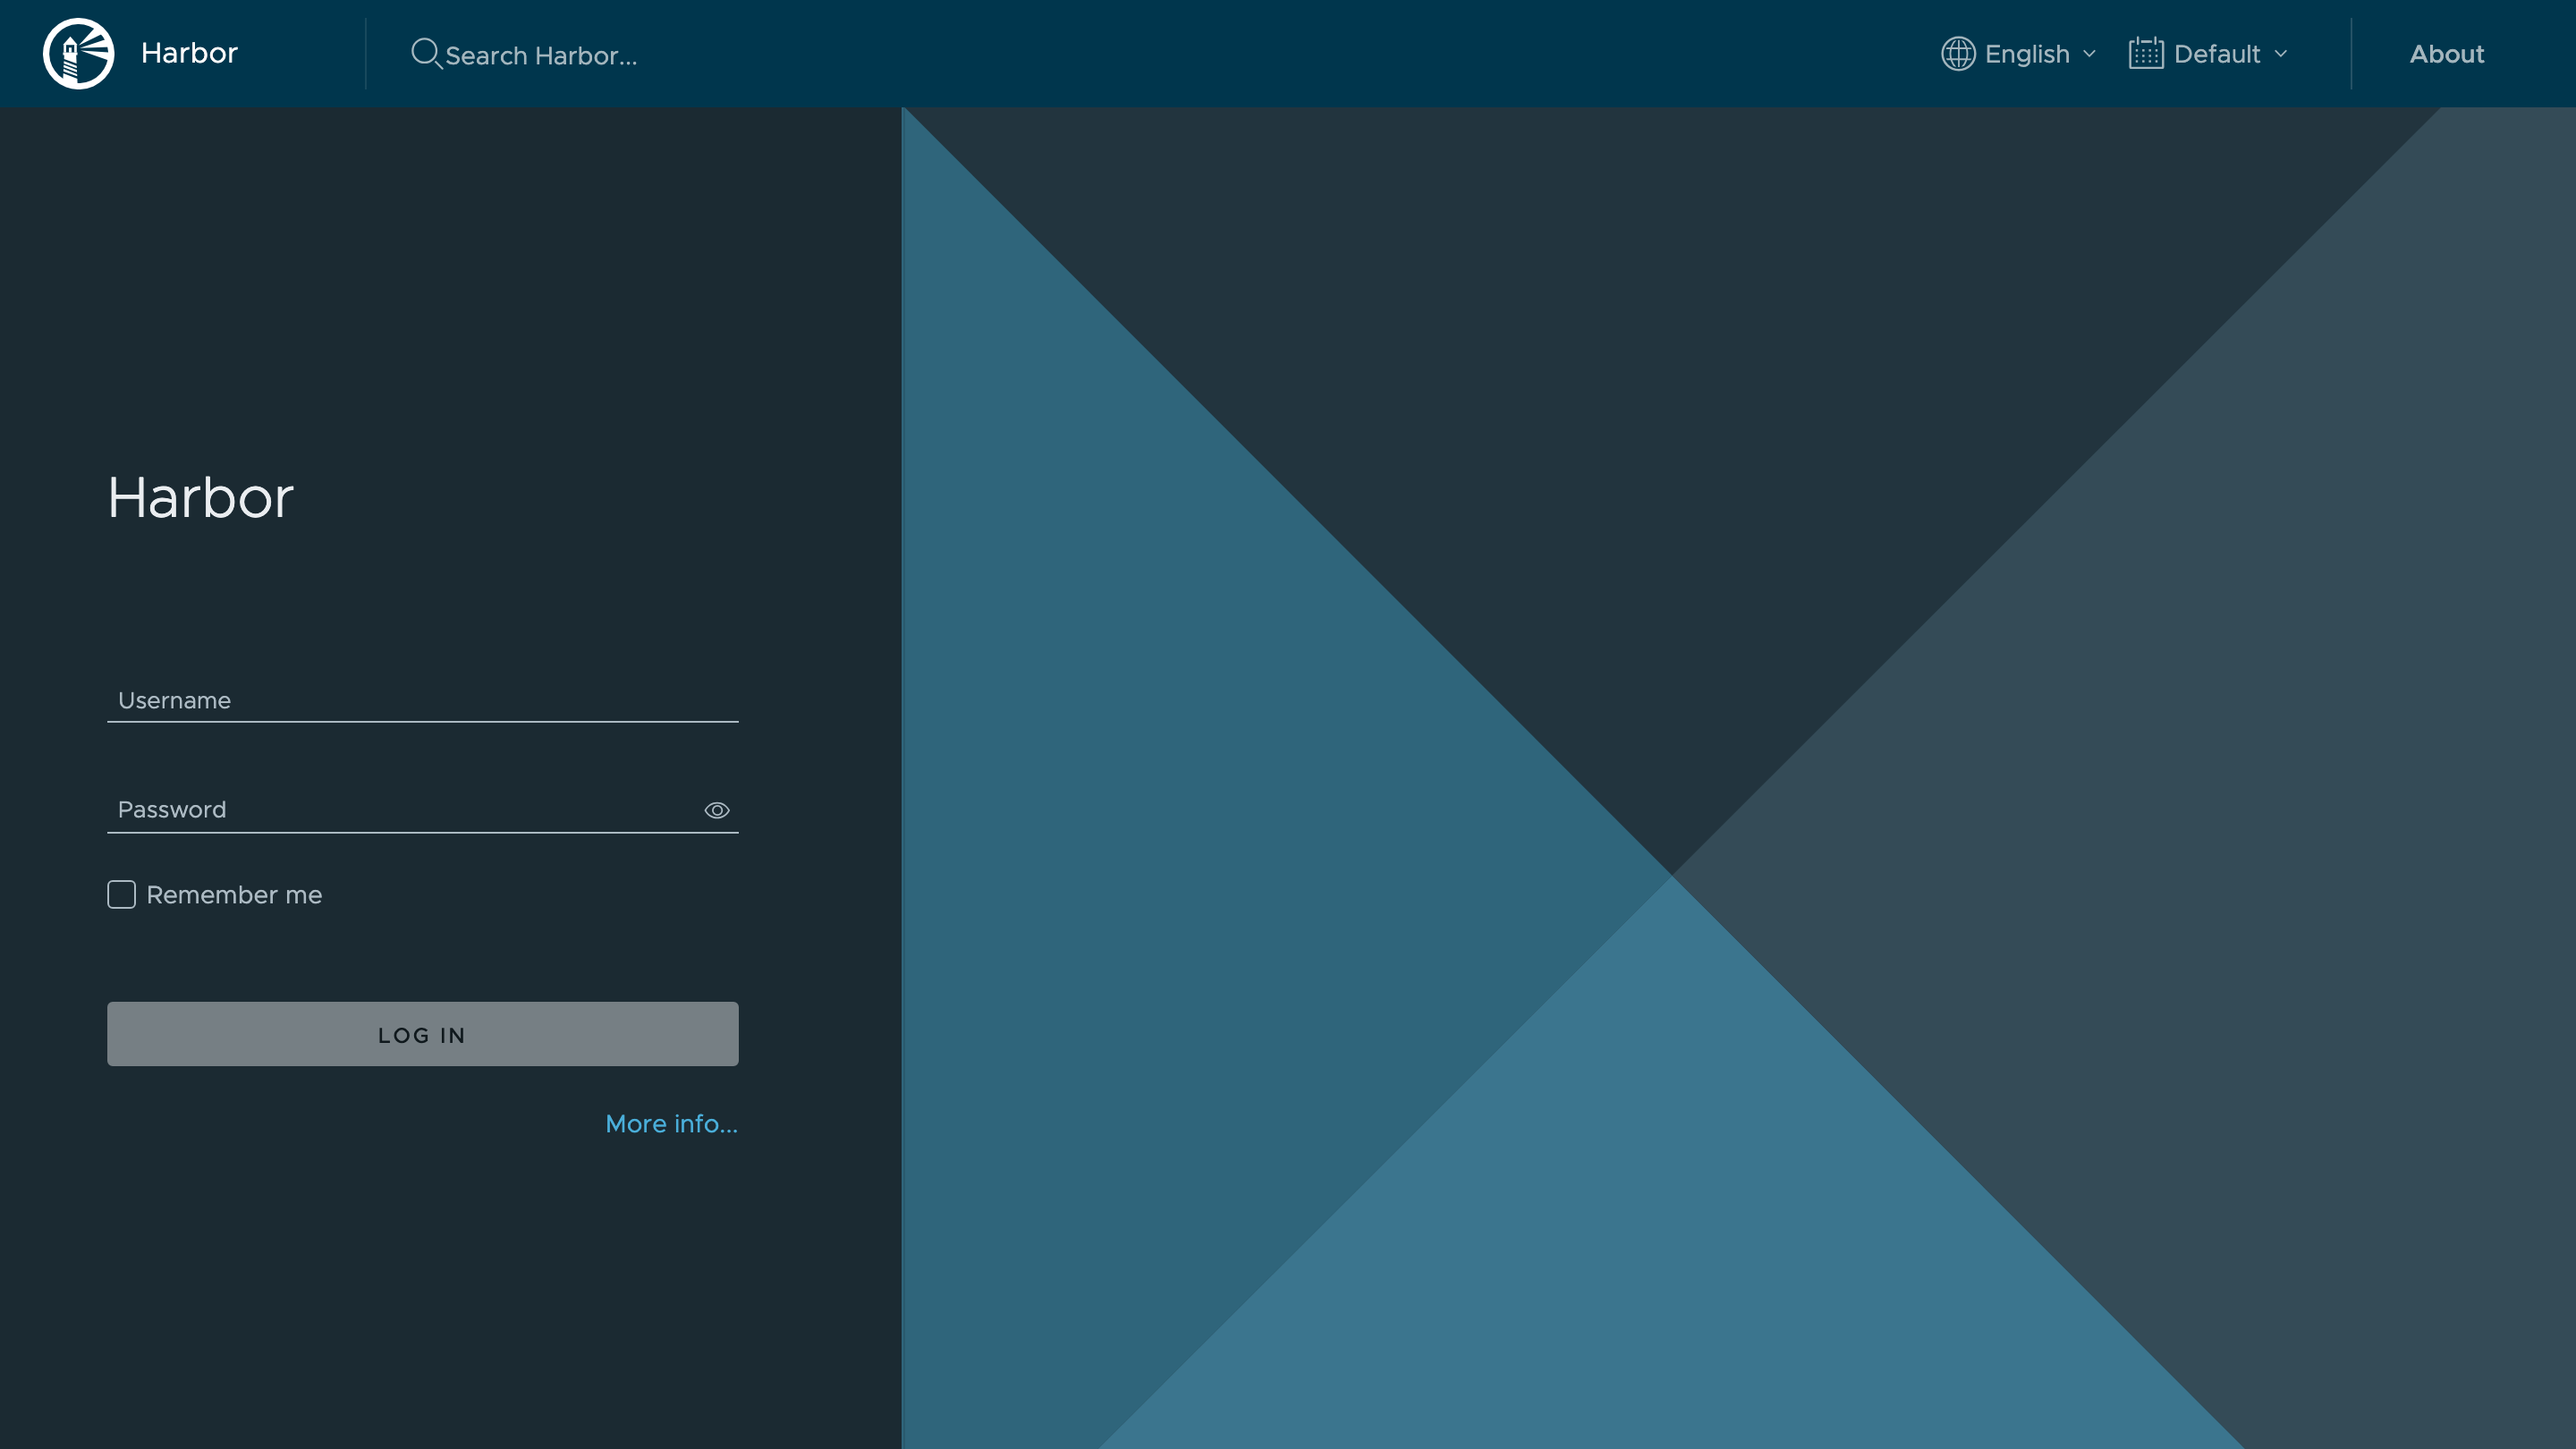
Step 1 — Access the interface
The Harbor administration interface is reached through the instance URL, displayed in the Numspot console.
Step 2 — Prepare the source images
If your external registry already contains your images, skip this step. To reproduce the demo, publish a test image to the external registry (instance B):
# Sample image pulled from Docker Hub
docker pull nginx:1.27-alpine
docker tag nginx:1.27-alpine $REG_B/poc-upstream-images/poc-app:1.0.0

docker login $REG_B
docker push $REG_B/poc-upstream-images/poc-app:1.0.0
Artifactory variant: a repository path includes the JFrog repository name, for example $REG_B/poc-documentation/poc-app:1.0.0. Docker Hub variant: your images are already on docker.io, no preparation is needed.
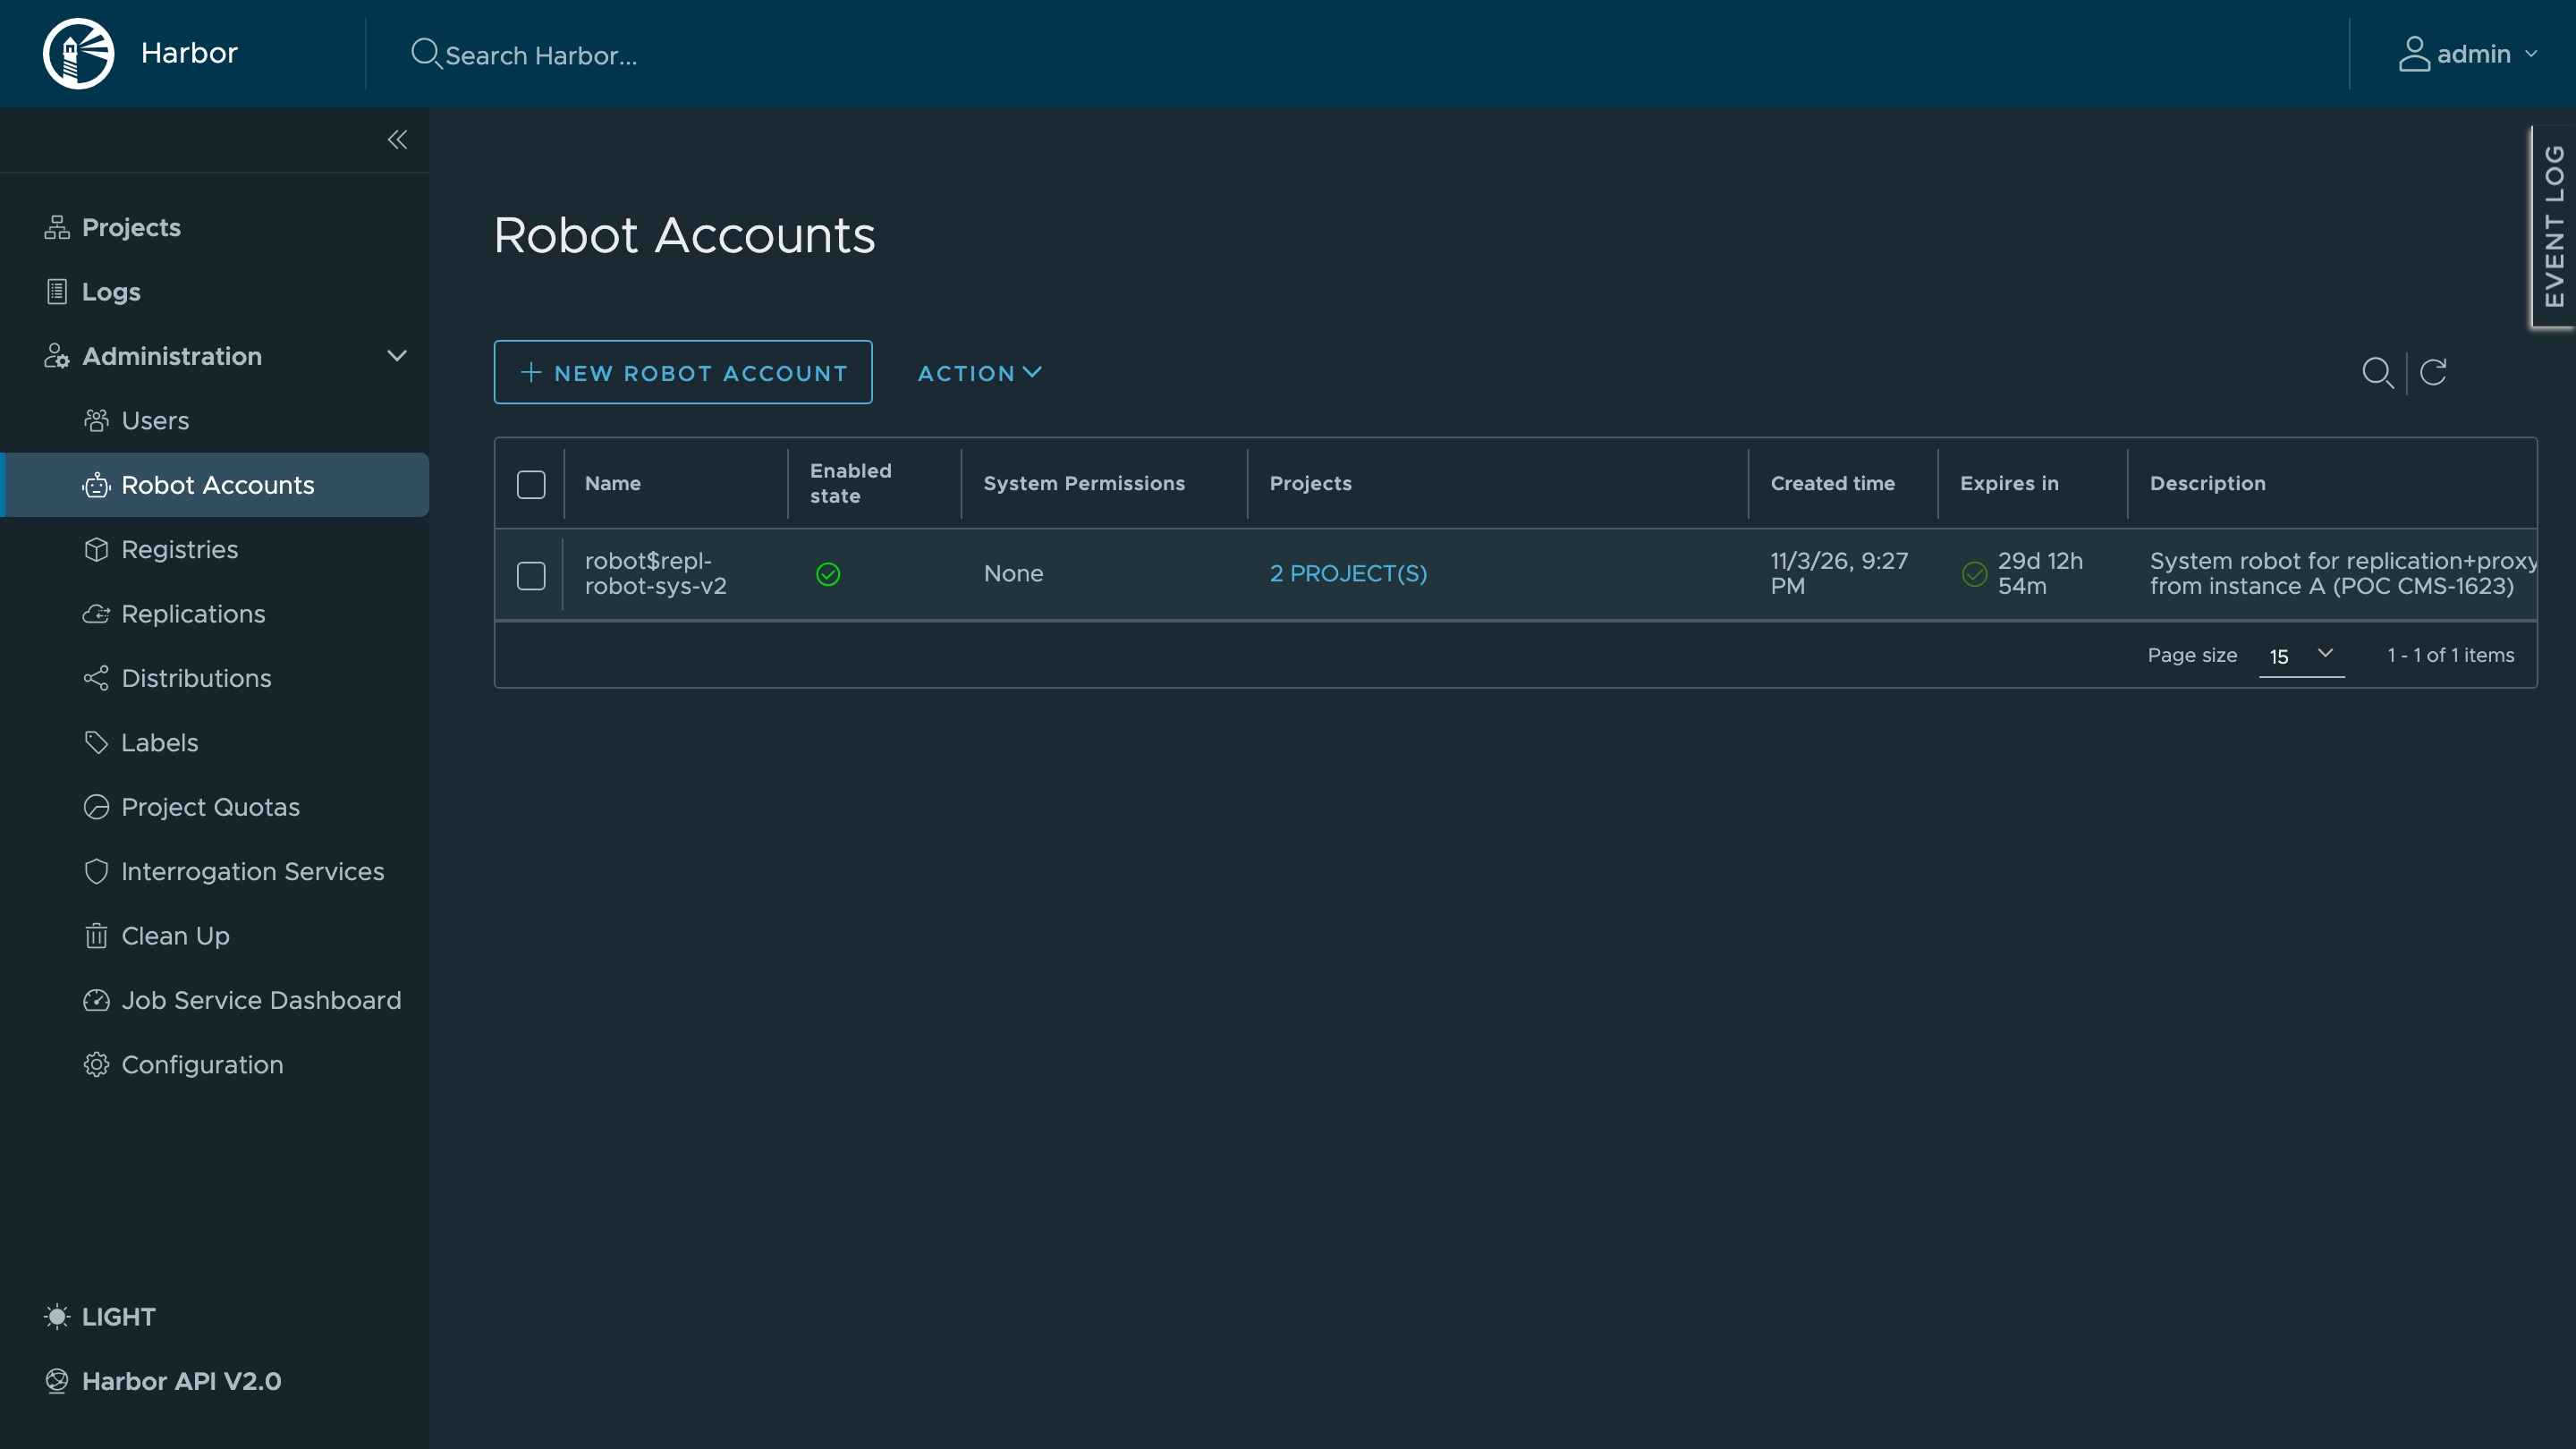
Step 3 — Create the robot account on the source registry
Instance A will authenticate to the external registry with a dedicated account:
- Numspot (Harbor)-type external registry: create a robot account. For push replication, a system-level robot is mandatory (see Points of attention).
- JFrog Artifactory: create a dedicated user or an identity token with read permissions on the source repository (and write permissions for push replication).
- Docker Hub: use a dedicated Personal Access Token.
Step 4 — Declare the external registry (endpoint)
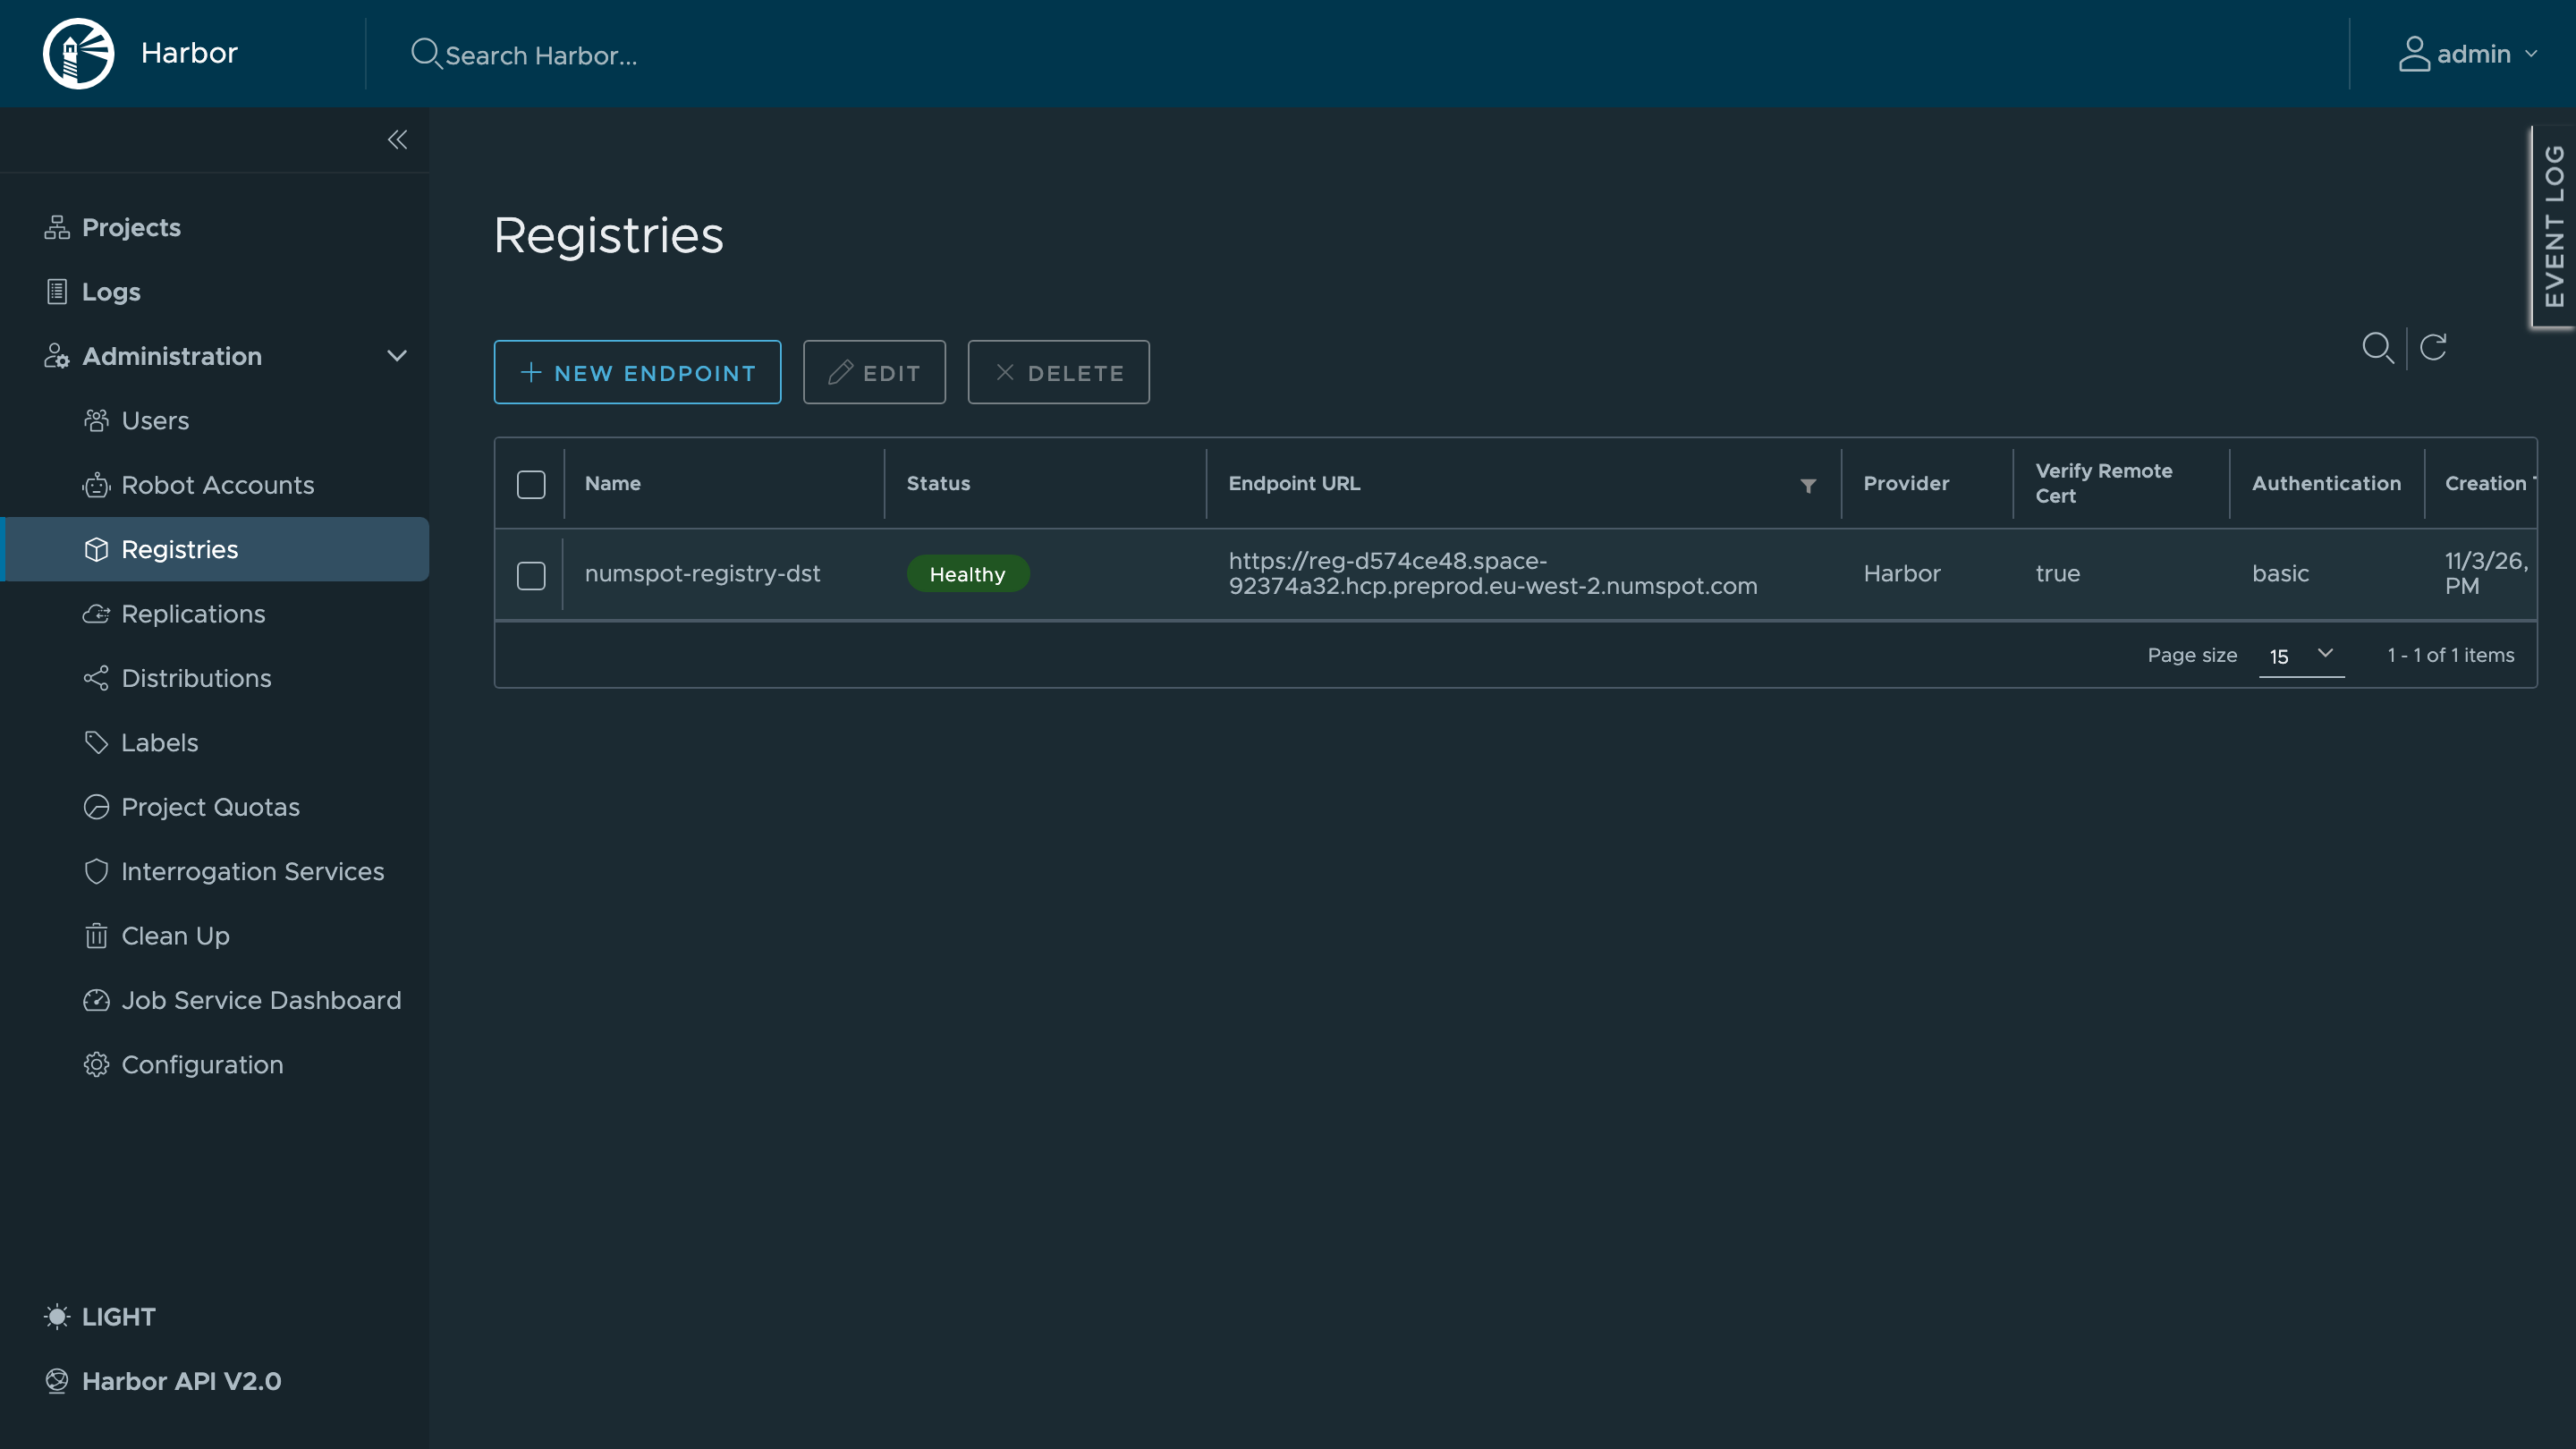
The equivalent call on the instance's native Harbor API:
curl -X POST "$REG_A/api/v2.0/registries" \
  -u "admin:$PW_A" \
  -H "Content-Type: application/json" \
  -d '{
    "name": "artifactory-endpoint",
    "type": "jfrog-artifactory",
    "url": "https://<your-instance>.jfrog.io",
    "access_key": "<user-or-robot>",
    "access_secret": "<password-or-token>",
    "insecure": false
  }'
Through the API, the type field must be exact: jfrog-artifactory for Artifactory, docker-hub for Docker Hub, harbor for a Harbor or Numspot instance. An invalid type returns an HTTP 500 error.
Step 5 — Create the pull replication rule
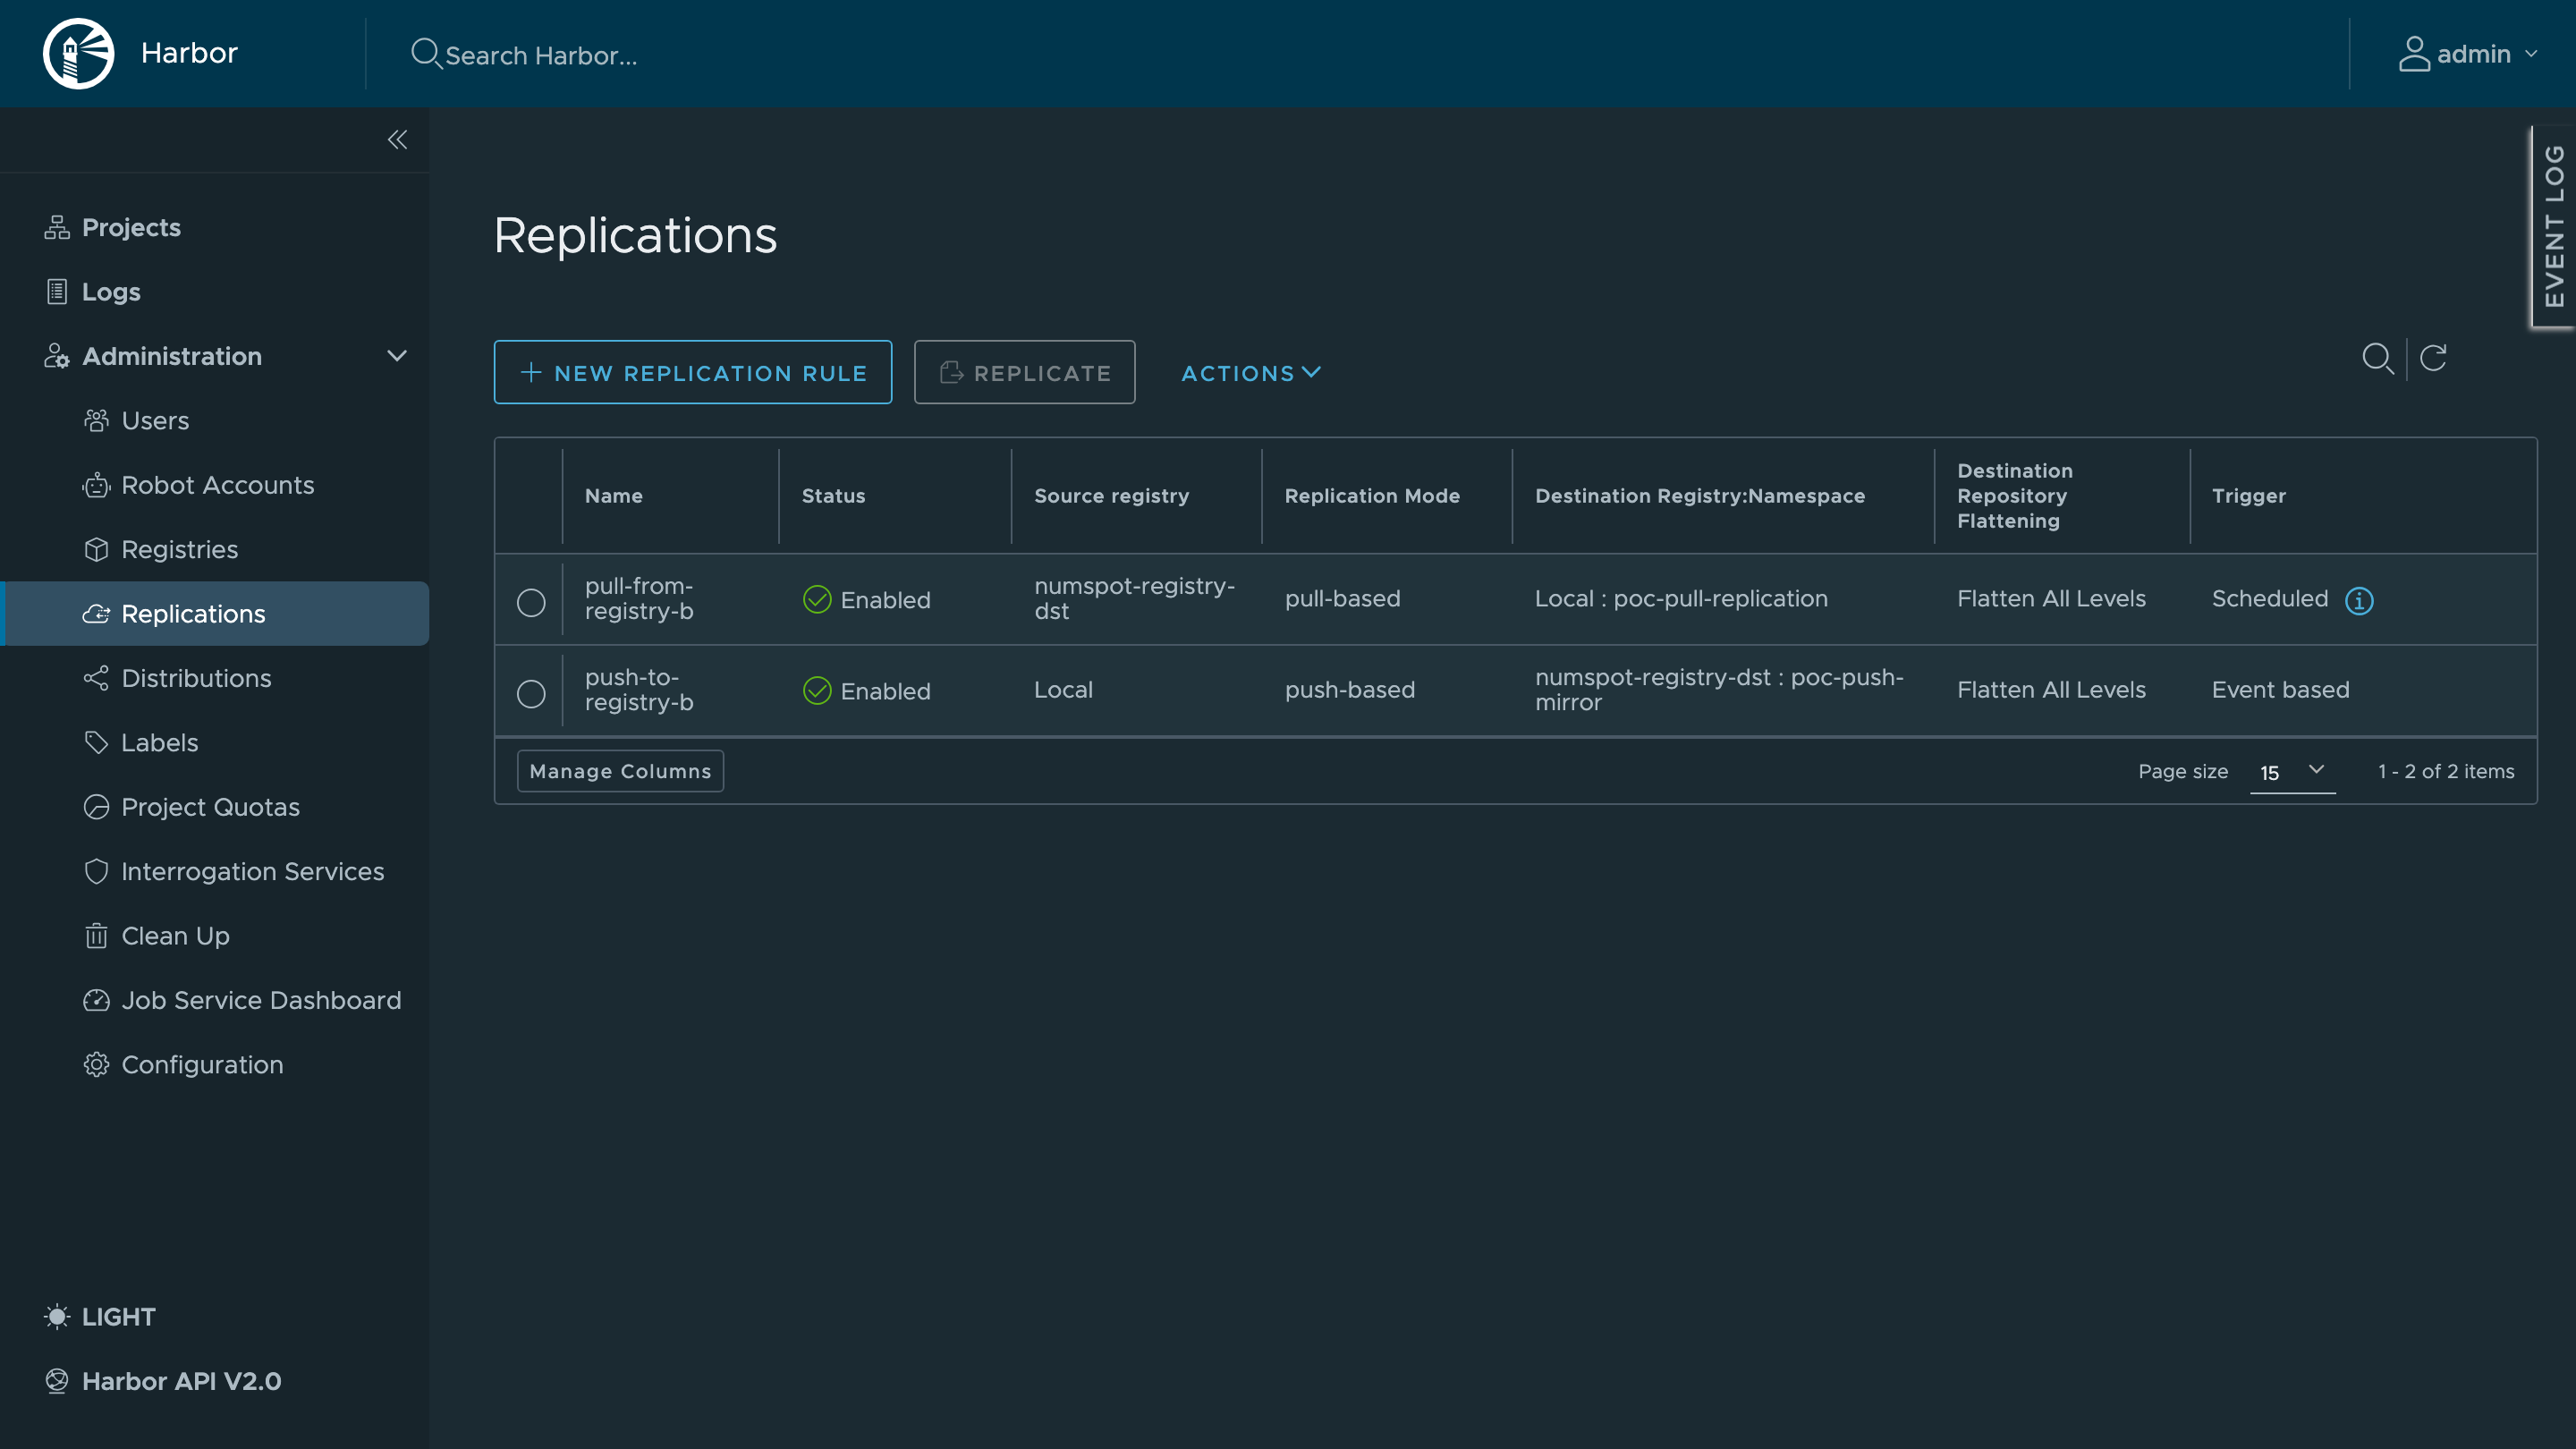
The cron expression of the scheduled trigger has 6 fields (seconds included) and is interpreted in UTC: 0 0 2 * * * means every day at 02:00 UTC.
Step 6 — Run the replication and verify
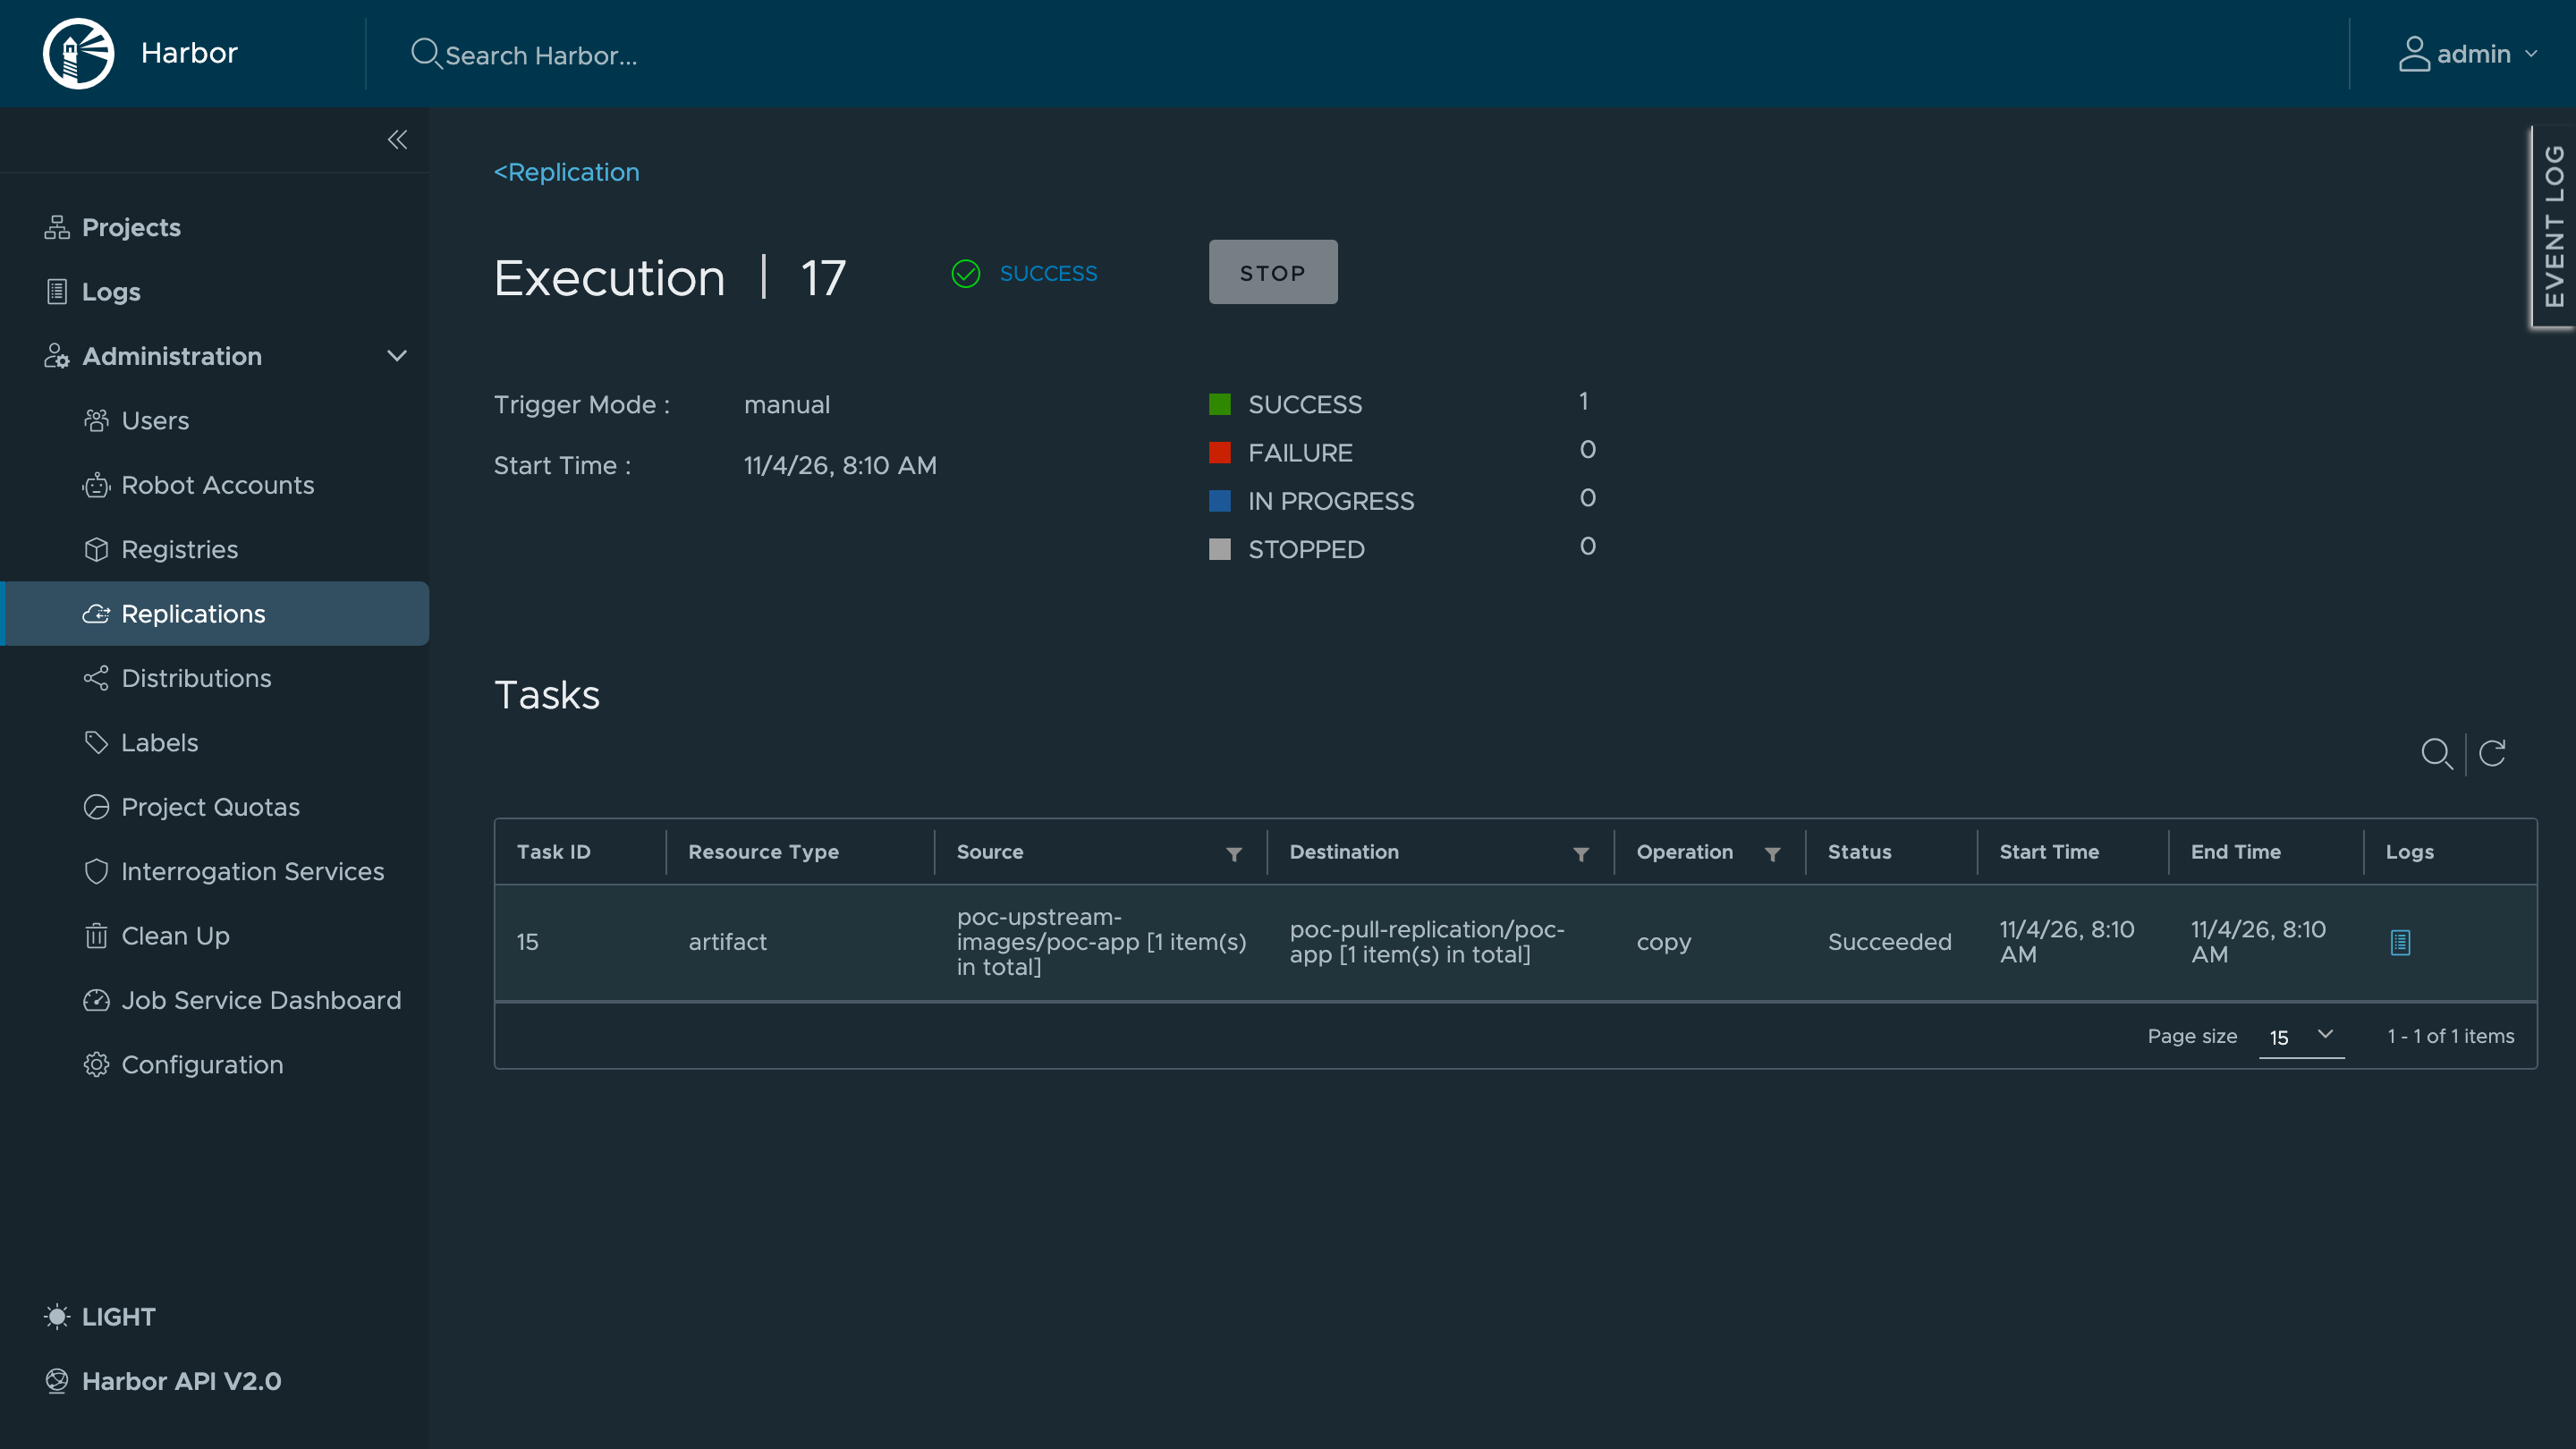
Check that the image digest is identical on both registries:
docker buildx imagetools inspect "$REG_B/poc-upstream-images/poc-app:1.0.0"
docker buildx imagetools inspect "$REG_A/poc-pull-replication/poc-app:1.0.0"
# Both commands display the same sha256:… digest
Step 7 — Replicate to the external registry (push)
Push replication propagates to the external registry every image published on your Numspot instance: this is the key mechanism for reversibility.
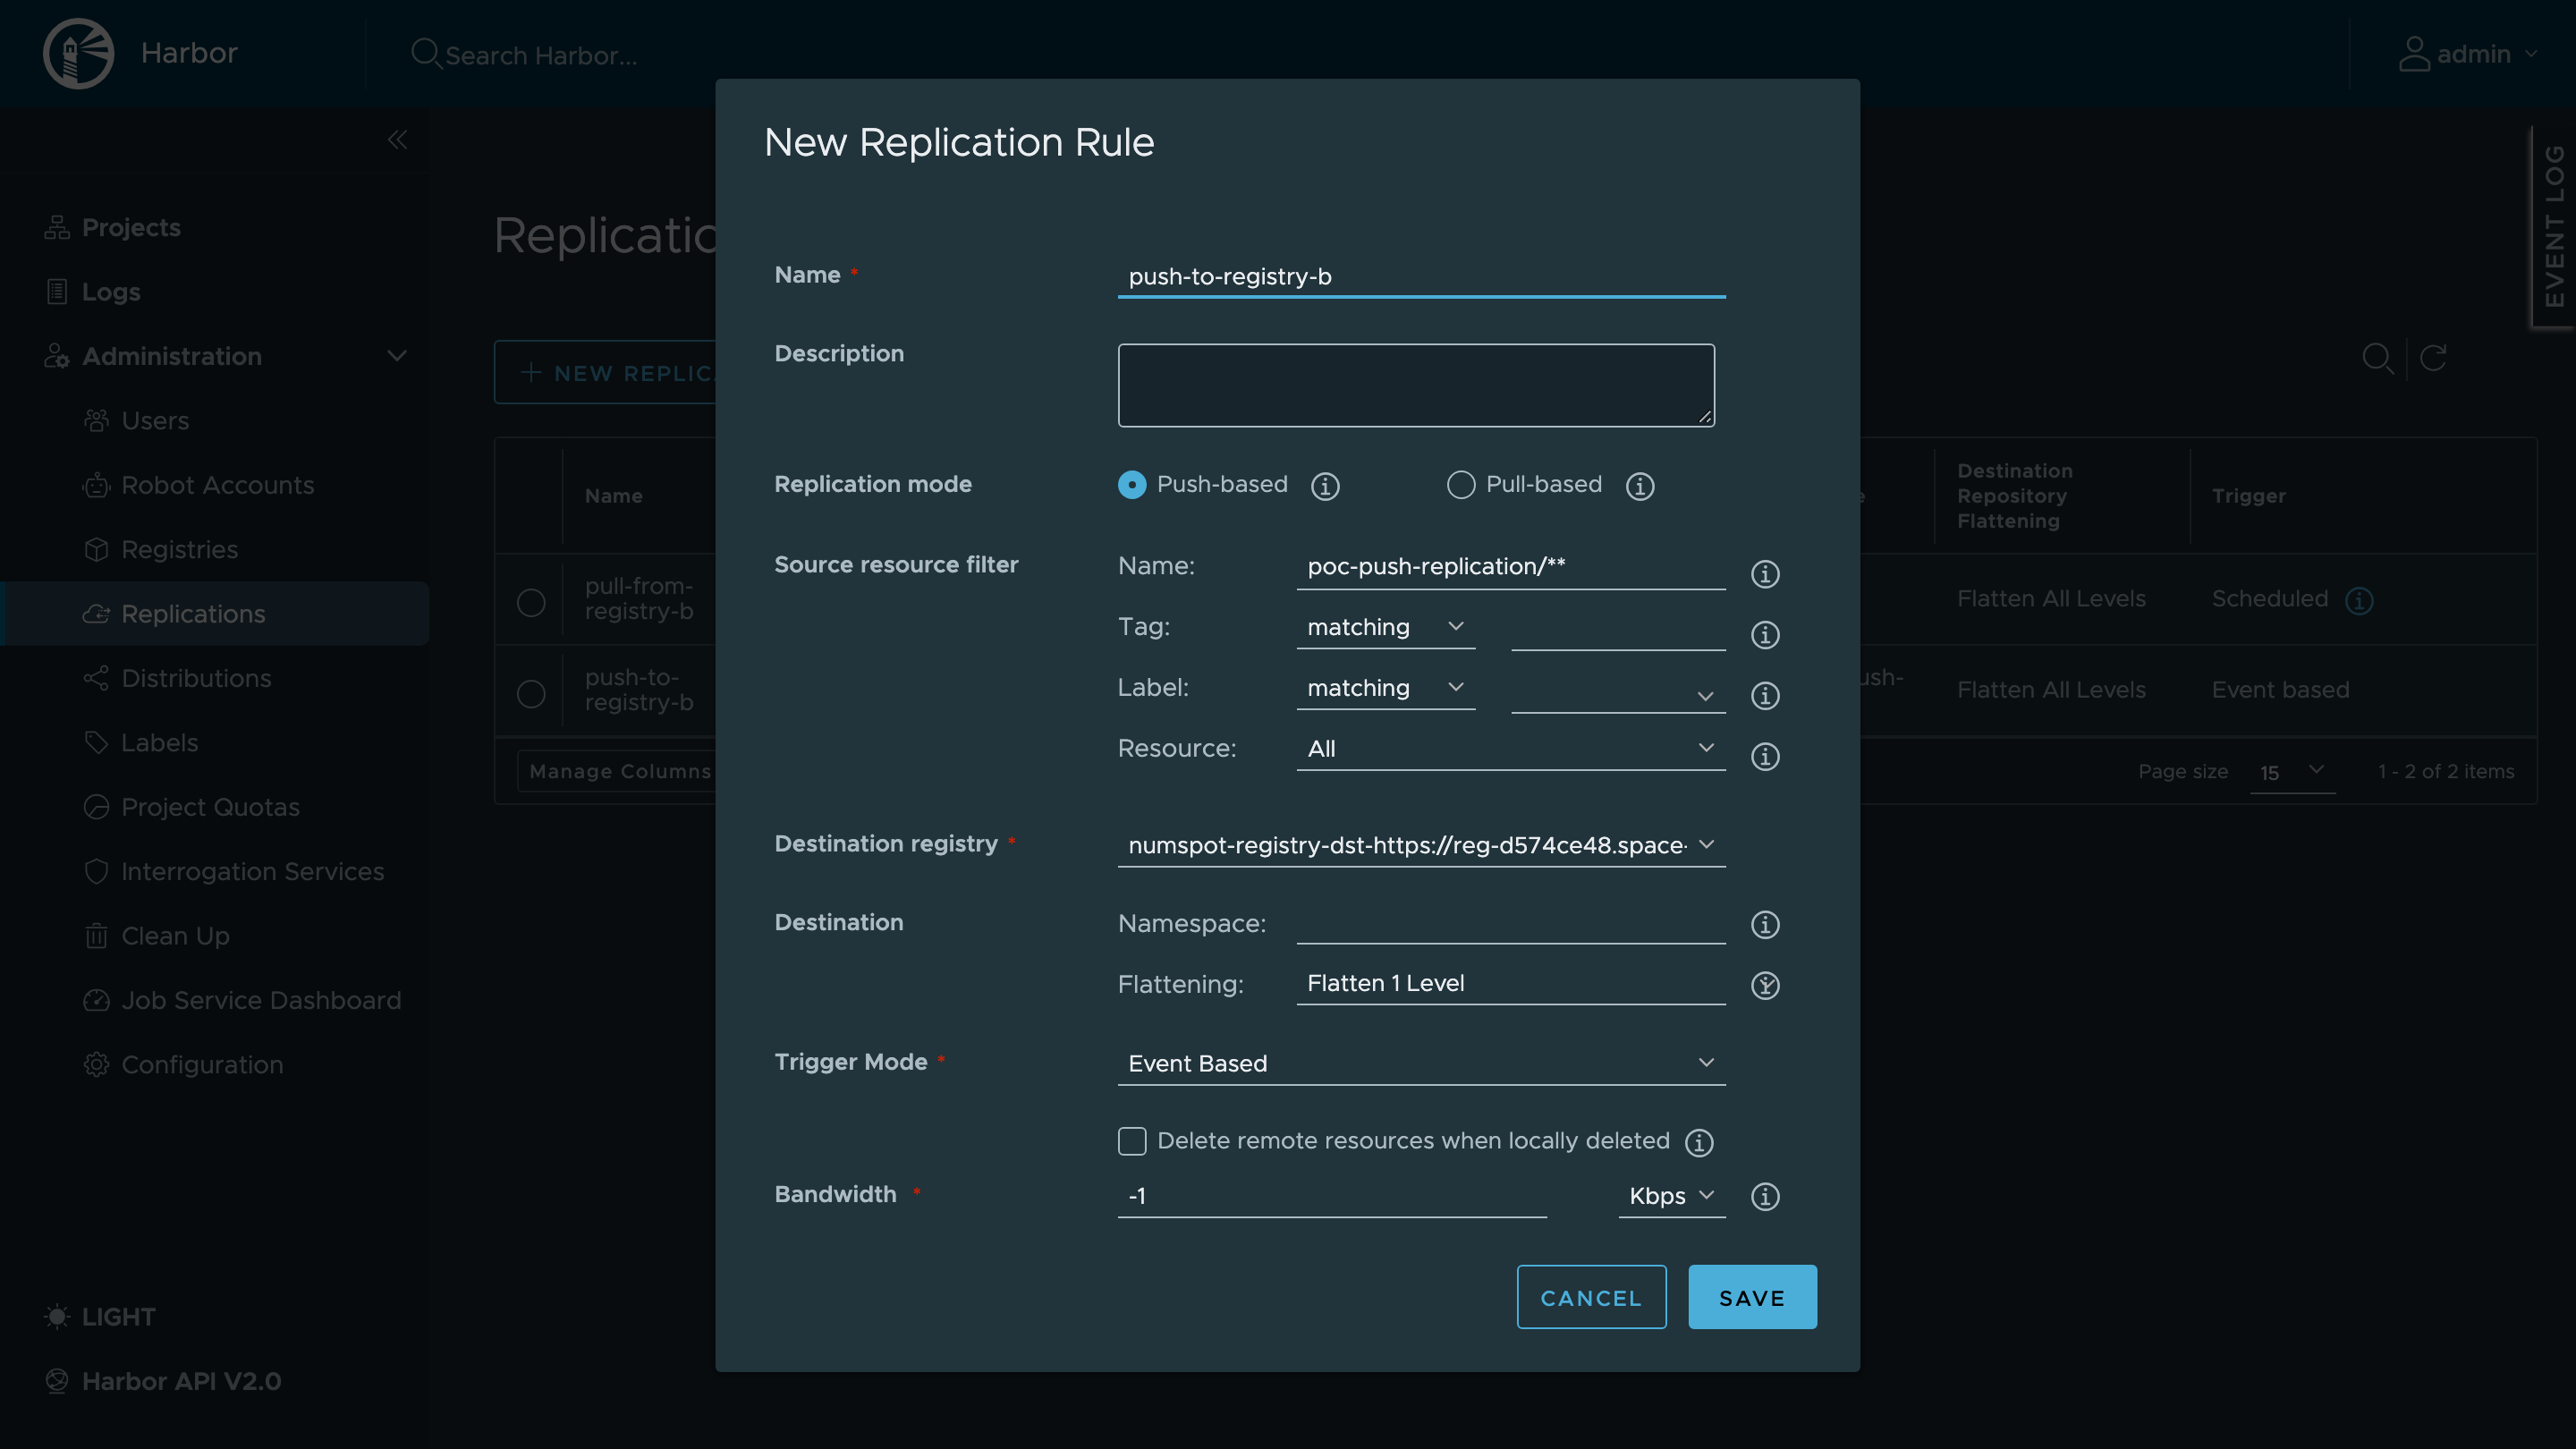
Then publish an image normally: the replication triggers by itself.
docker login $REG_A
docker tag nginx:1.27-alpine $REG_A/poc-push-replication/poc-app:2.1.0
docker push $REG_A/poc-push-replication/poc-app:2.1.0
# The push-to-registry-b rule execution triggers automatically
# Verification on the external registry
docker buildx imagetools inspect "$REG_B/poc-push-mirror/poc-app:2.1.0"
Numspot (Harbor)-type destination: the account used as the endpoint credential must be a system-level robot — a project-level robot is rejected with the 403 error "Only system level robot can create project" during push replication. Artifactory destination: use a user with deploy permissions on the target repository.
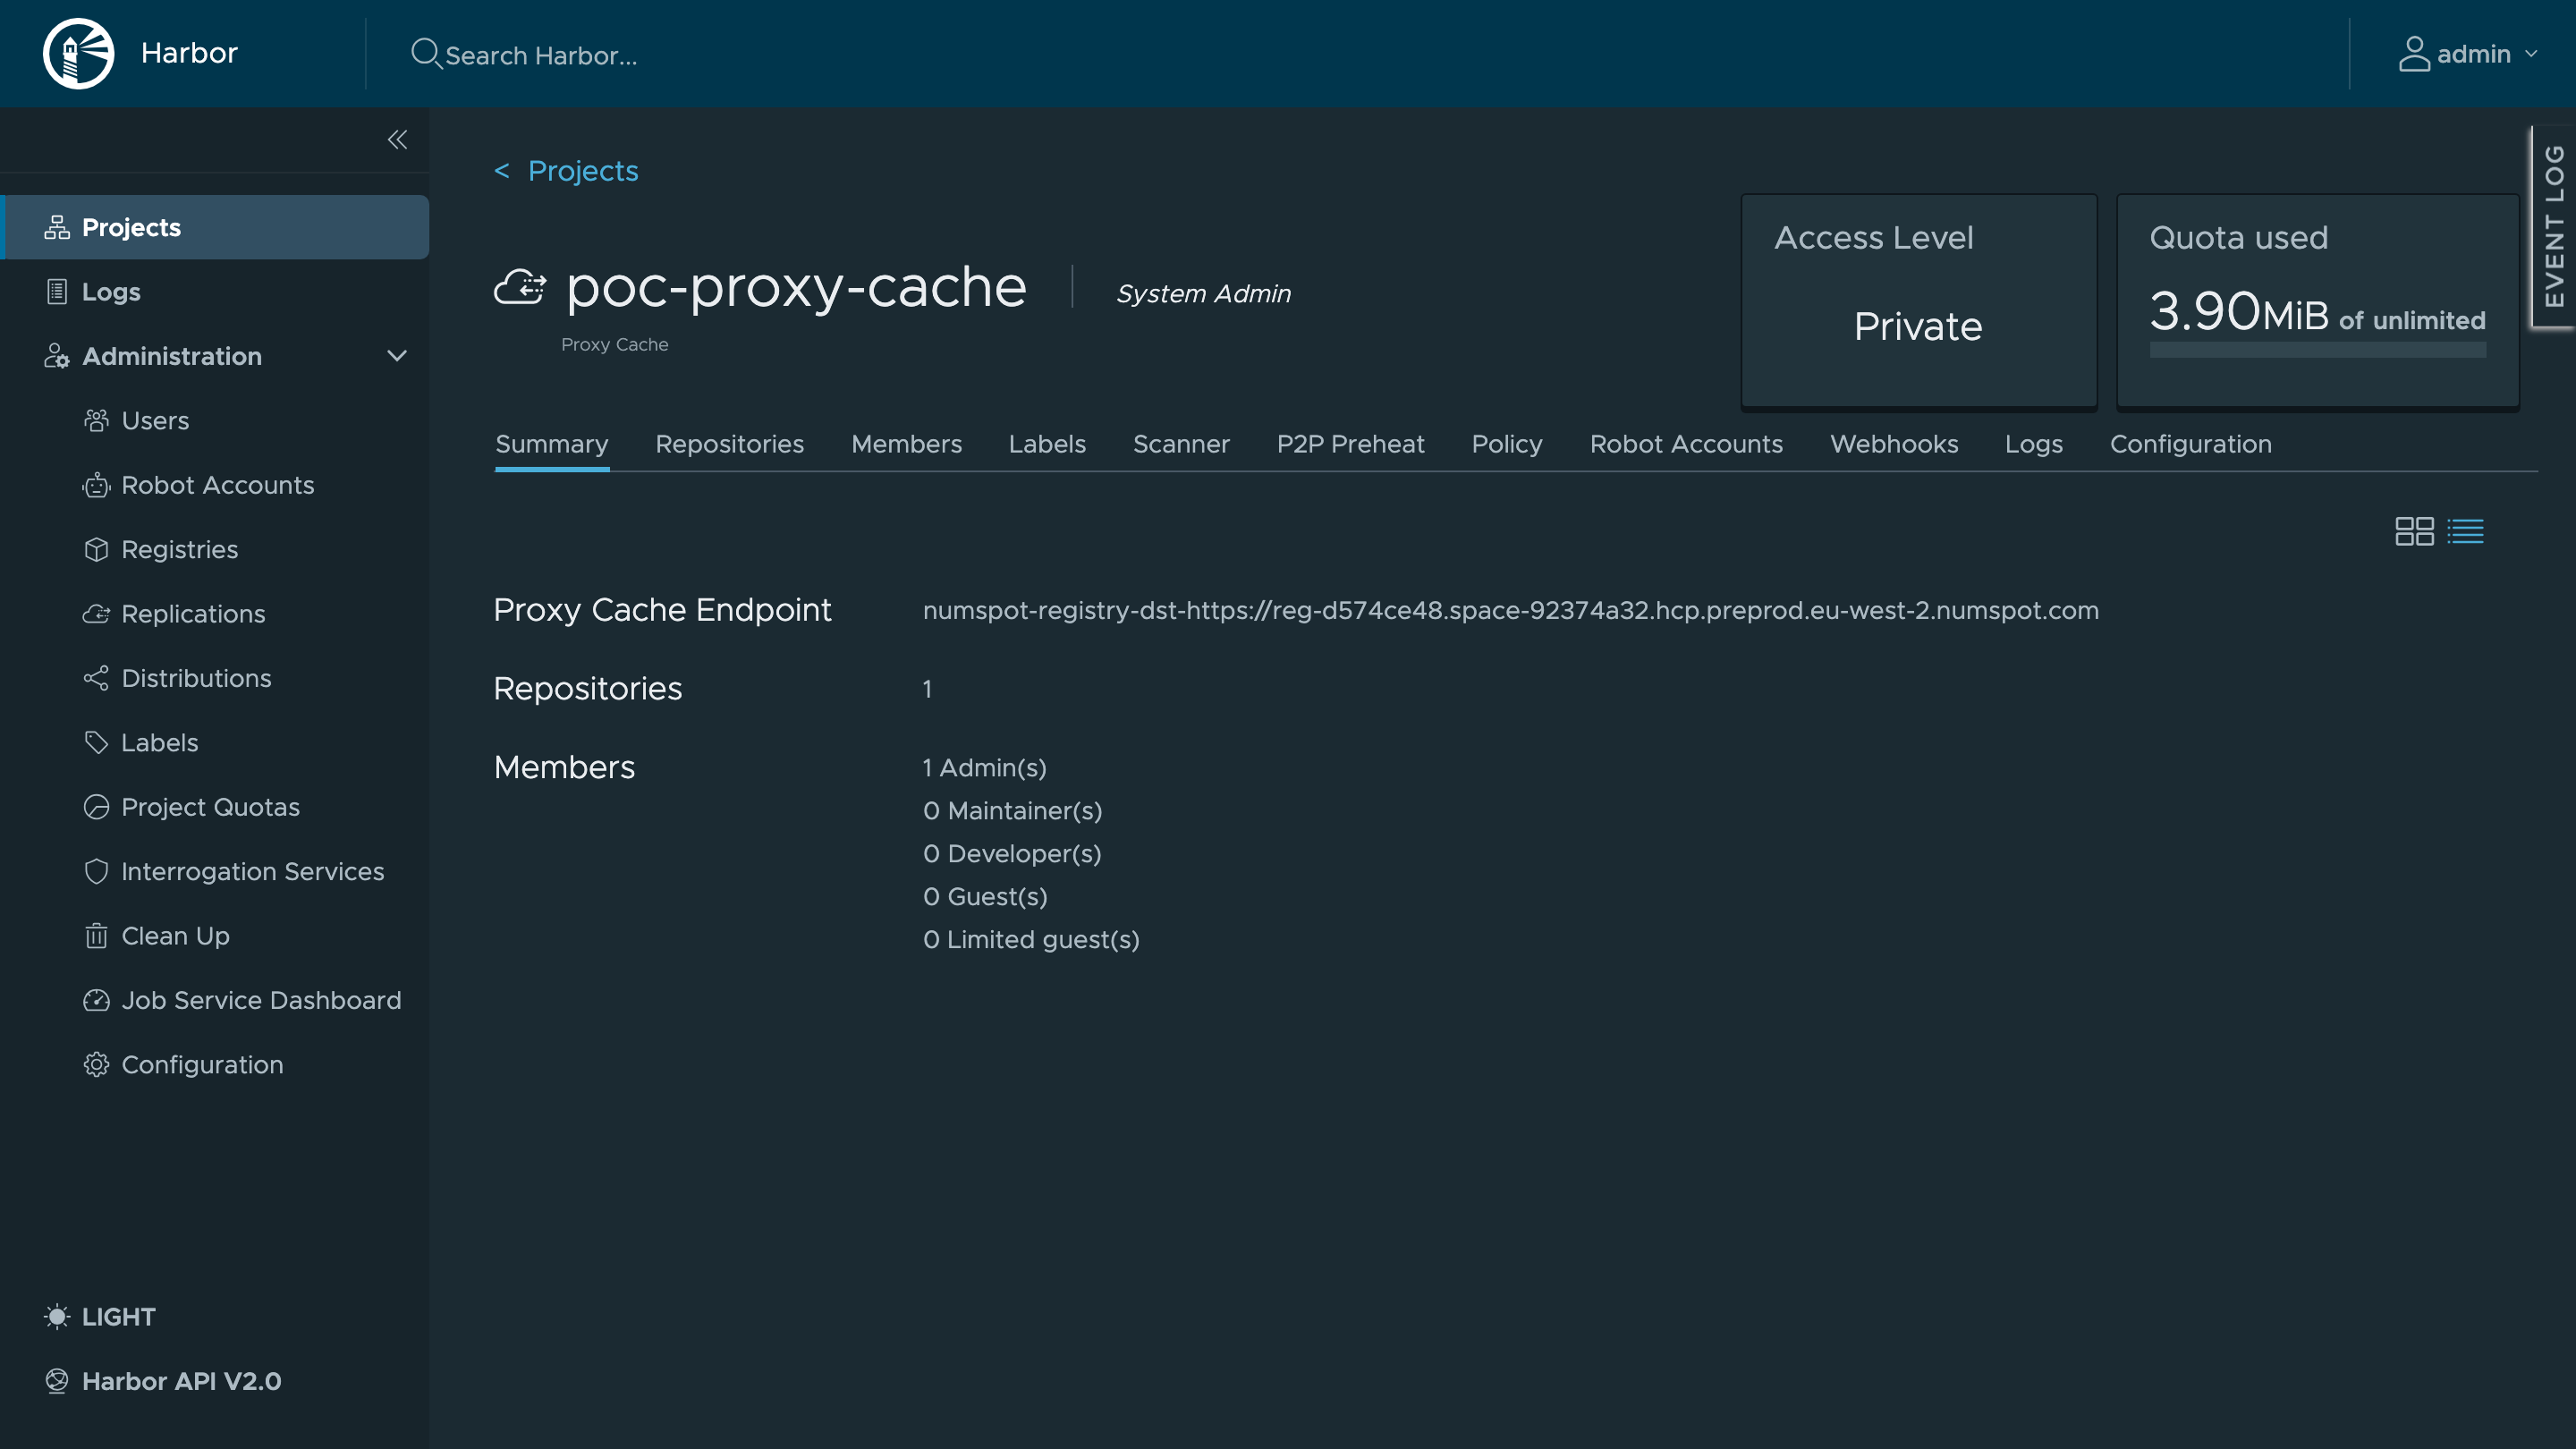
Step 8 — Cache Docker Hub with the proxy cache
The proxy cache avoids Docker Hub rate limits and speeds up pulls from your environments: the first request is served from the upstream (miss), the following ones from the cache (hit).
# Cache an official Docker Hub image through the proxy cache
docker login $REG_A
docker pull $REG_A/poc-proxy-cache/library/nginx:1.27-alpine

# Cache an image from the external registry of the demo
docker pull $REG_A/poc-proxy-cache/poc-upstream-images/poc-app:1.0.0
The cached repository only appears in the project list after the first pull. Pushes to a proxy cache project are rejected: the project only mirrors the upstream.
Step 9 — Create a robot account for CI (optional)
To consume replicated images from your CI without using the administrator account, create a dedicated robot account.
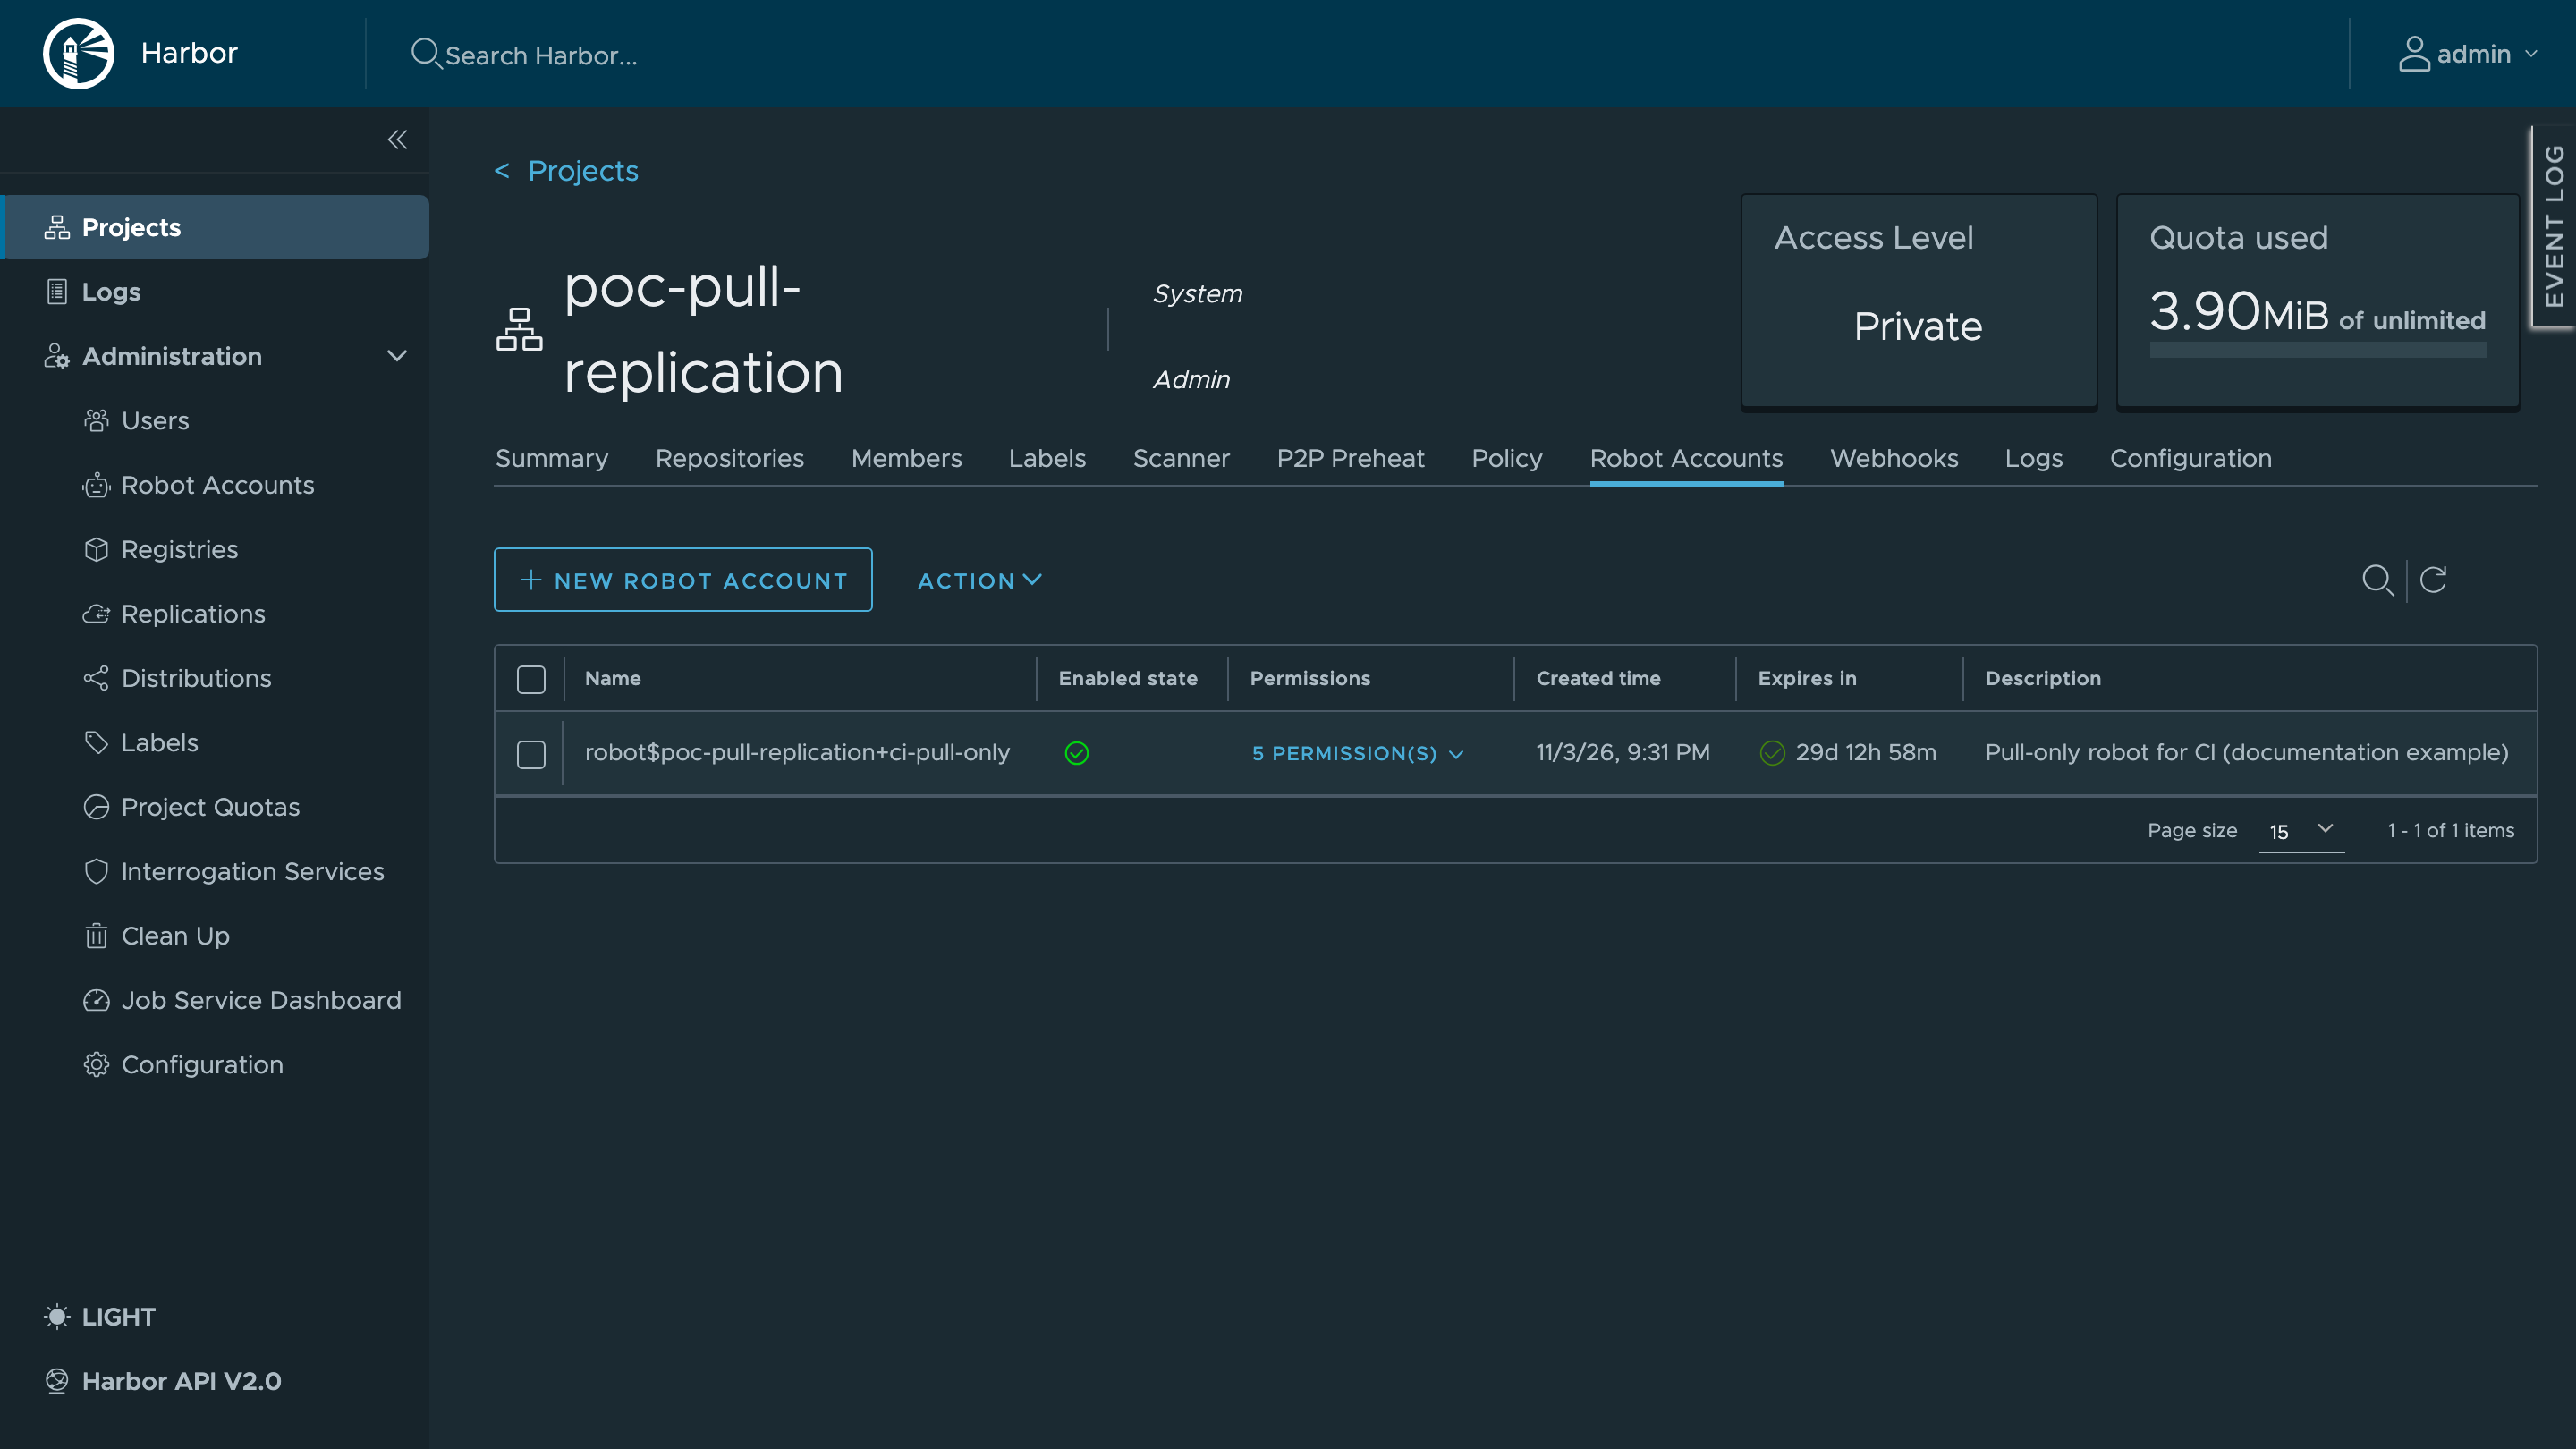
For more details, see Robot accounts.
Points of attention
The API endpoints mentioned in this section (/api/v2.0/..., /v2/) are those of the native Harbor API exposed directly by your Container Registry instance (https://<instance-host>/api/v2.0/...). They are not part of the Numspot API, which manages Registry instances at the platform level (creation, deletion, admin password reset, …).
- JFrog Artifactory adapter: only Manual and Scheduled triggers are available; event-based is not supported by this adapter.
- System robot mandatory for push destinations (Harbor-type registry): a project-level robot fails with 403 "Only system level robot can create project".
- 6-field cron, in UTC:
0 0 2 * * *, not0 0 2 * *. - Editing an endpoint through the API:
PUT /api/v2.0/registries/{id}silently ignores credentials nested incredential— also sendaccess_keyandaccess_secretflat in the request body. - Robot account API (Harbor 2.14): creation goes through
POST /api/v2.0/robotswith"level": "project"or"system"(the legacyPOST /projects/{id}/robotsendpoint no longer exists).PUT /api/v2.0/robots/{id}requireslevelandnamein the body; to change permissions, create a new robot then delete the old one. - Scan report tied to the digest: if a vulnerability scan failed on a digest, the state persists for that digest even after re-replicating the same image.
- Registry availability check:
GET /v2/returns 401 with a Bearer challenge even with valid credentials (normal Harbor behavior); useGET /api/v2.0/ping, which answers 200 without authentication.
Going further
- Configuring Harbor replication: API reference for modes, filters and triggers.
- Configuring the proxy cache: detailed pull-through cache behavior.
- Robot accounts: creating and managing project and system robots.